Updating your kitchen, bathroom, or hallway with a 100% waterproof and highly durable surface is a brilliant way to add value to your home. If you want to save money on professional installation fees, learning exactly how to lay vinyl click flooring is a fantastic, highly manageable weekend DIY project.
Thanks to the innovative click-and-lock mechanisms of modern luxury vinyl tiles (LVT), you can achieve a flawless, professional finish without the need for messy adhesives or specialist power tools. Our team of flooring specialists have put together this comprehensive, step-by-step guide to walk you through the entire process, from essential subfloor preparation to clicking that final plank into place.
Jump to a Section
- Preparation Before Learning How to Lay Vinyl Click Flooring
- Essential Tools You Will Need
- How to Lay Vinyl Click Flooring: The Step-by-Step Process
- How to Lay Vinyl Click Flooring FAQs
- Find Your Perfect Planks at Flooring Factory Outlet
Preparation Before Learning How to Lay Vinyl Click Flooring
A beautiful, long-lasting floor relies entirely on the preparation done before you even open a box. The most important rule when understanding how to lay vinyl click flooring is that your subfloor must be completely clean, dry, and perfectly flat.
- Check the Subfloor: Use a long spirit level to check for dips. Because click vinyl is slightly flexible, uneven spots in a concrete floor must be smoothed out with a self-levelling compound, whilst uneven wooden floorboards should be covered with a thin layer of flooring-grade plywood. The sub floor needs to be solid, flat firm & stable before installation.
- Acclimatise the Planks: You must leave the unopened boxes flat in the room where they will be installed for at least 48 hours. This allows the planks to acclimatise to the room’s normal temperature, preventing expansion issues later.
- Check the Underlay: You will be pleased to know that our premium click vinyl products come with a high-quality acoustic underlay already pre-attached to the back of the plank! This means that you cannot use another underlay with Pro-Tek’s click vinyl. This will void the warranty and will cause long term issue with the floor because of the excess movement and bounce another underlay creates.
Essential Tools You Will Need
One of the great benefits of this material is that you do not need expensive saws to cut it. Ensure you have the following tools ready:
- A heavy-duty utility knife (Stanley knife) with fresh blades
- A tape measure and a set square
- Spacers (usually 5mm to 10mm)
- A tapping block and a rubber mallet
- A metal pull bar (for tight spaces against the wall)
How to Lay Vinyl Click Flooring: The Step-by-Step Process
Once your floor has acclimatised and your subfloor is perfectly smooth, it is time to start the installation. Follow these core steps on how to lay vinyl click flooring to ensure a pristine finish:
- Leave an Expansion Gap: Like all floating floors, vinyl needs a little room to move. Place your plastic spacers against the skirting boards around the entire perimeter of the room to maintain a 5mm to 10mm expansion gap.
- Lay the First Row: Start in a corner, working left to right. Place the first plank with the “tongue” side facing the wall. Click the short ends of the subsequent planks together.
- Score and Snap to Cut: When you reach the end of the row, measure the required length. Use your utility knife and set square to firmly score a straight line across the top wear layer of the plank, then simply snap the plank along the line.
- Stagger the Joints: Use the off-cut from the first row to start your second row. This staggers the joints in a brick-bond pattern, which makes the floor structurally stronger and visually appealing. The joints between rows should be staggered by at least 300mm.
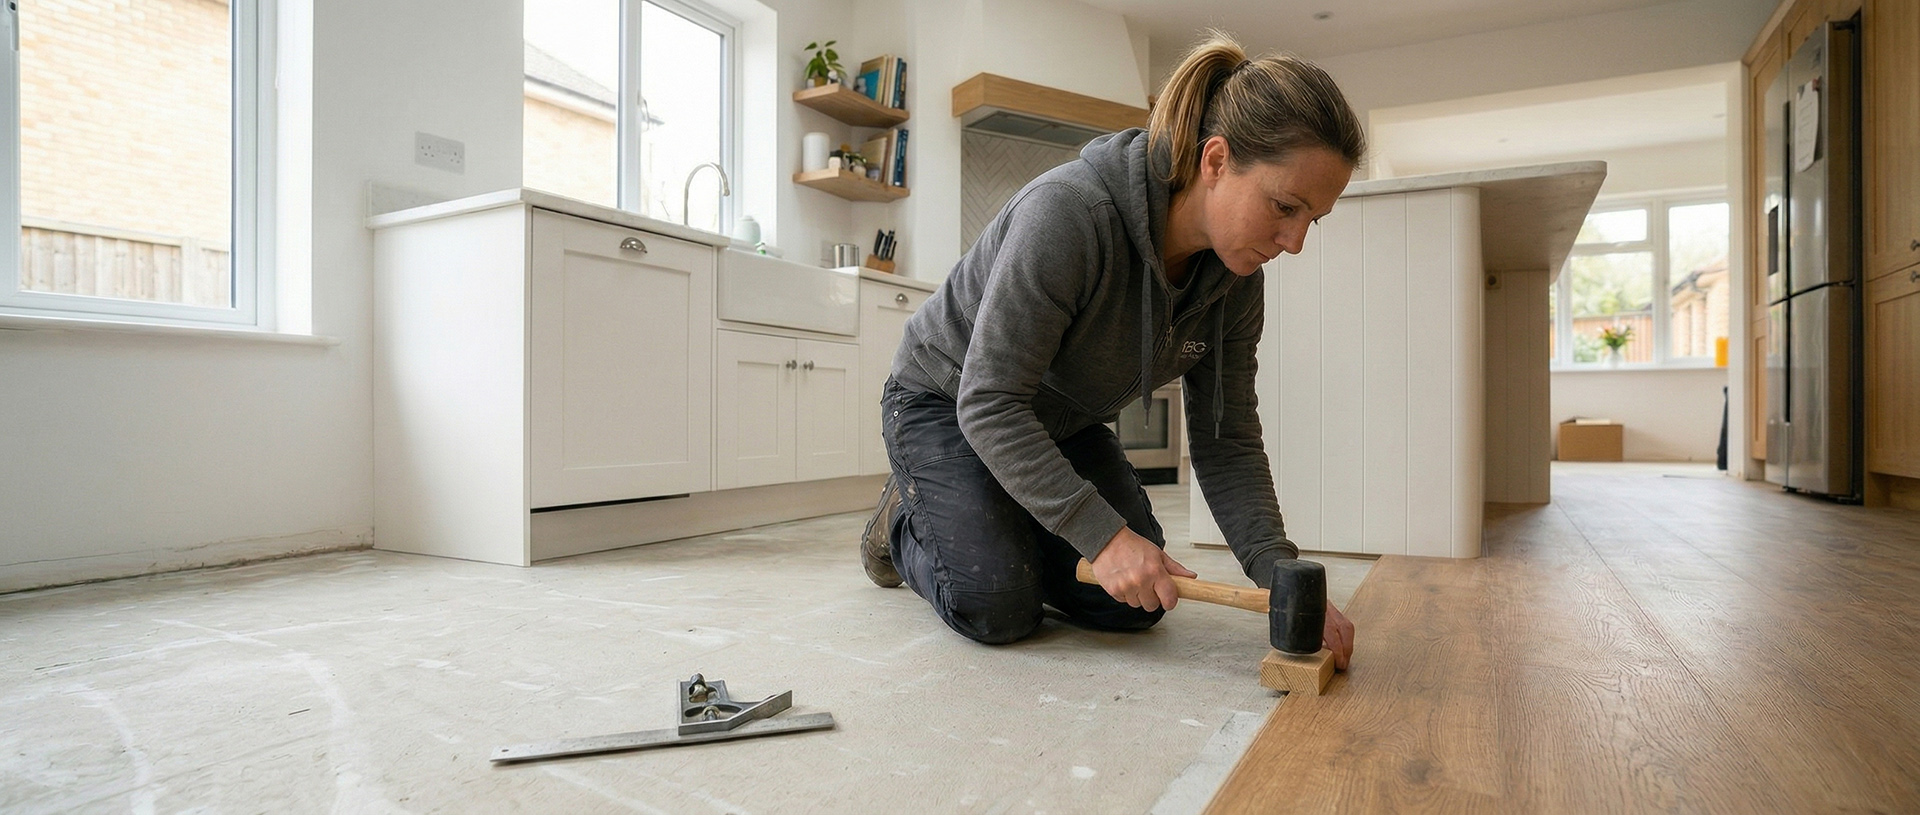
- Click and Lock: Angle the long edge of the new plank into the groove of the previous row at a 45-degree angle, push it in, and lower it down. Use your tapping block and rubber mallet to gently tap the seams closed so there are no visible gaps.
- The Finishing Touches: Once the room is complete, remove the perimeter spacers and cover the expansion gap with colour-matched scotia beading or new skirting boards.
How to Lay Vinyl Click Flooring FAQs
Can I install it over existing tiles?
When researching how to lay vinyl click flooring, it is generally recommended to remove old flooring. However, you can install it directly over existing ceramic tiles, provided they are firmly attached and you use a self-levelling compound to completely fill in the grout lines. If the grout lines are not filled, they can eventually press through and compromise the click joints.
Is it suitable for underfloor heating?
Yes! Because it does not expand and contract as drastically as solid wood, luxury click vinyl is perfectly safe to use over modern underfloor heating (UFH) systems. However, compatibility depends on the core of your planks: our SPC flooring is fully compatible with both electric and water-based UFH systems, whereas our WPC flooring is suitable for water-based systems only. Always verify the manufacturer’s temperature guidelines before turning the heating on.
Which direction should the planks run?
For the most attractive finish, you should lay the planks parallel to the longest wall in the room or pointing towards the main source of natural light, such as a large window or bi-fold doors. This helps to visually lengthen the room.
Find Your Perfect Planks at Flooring Factory Outlet
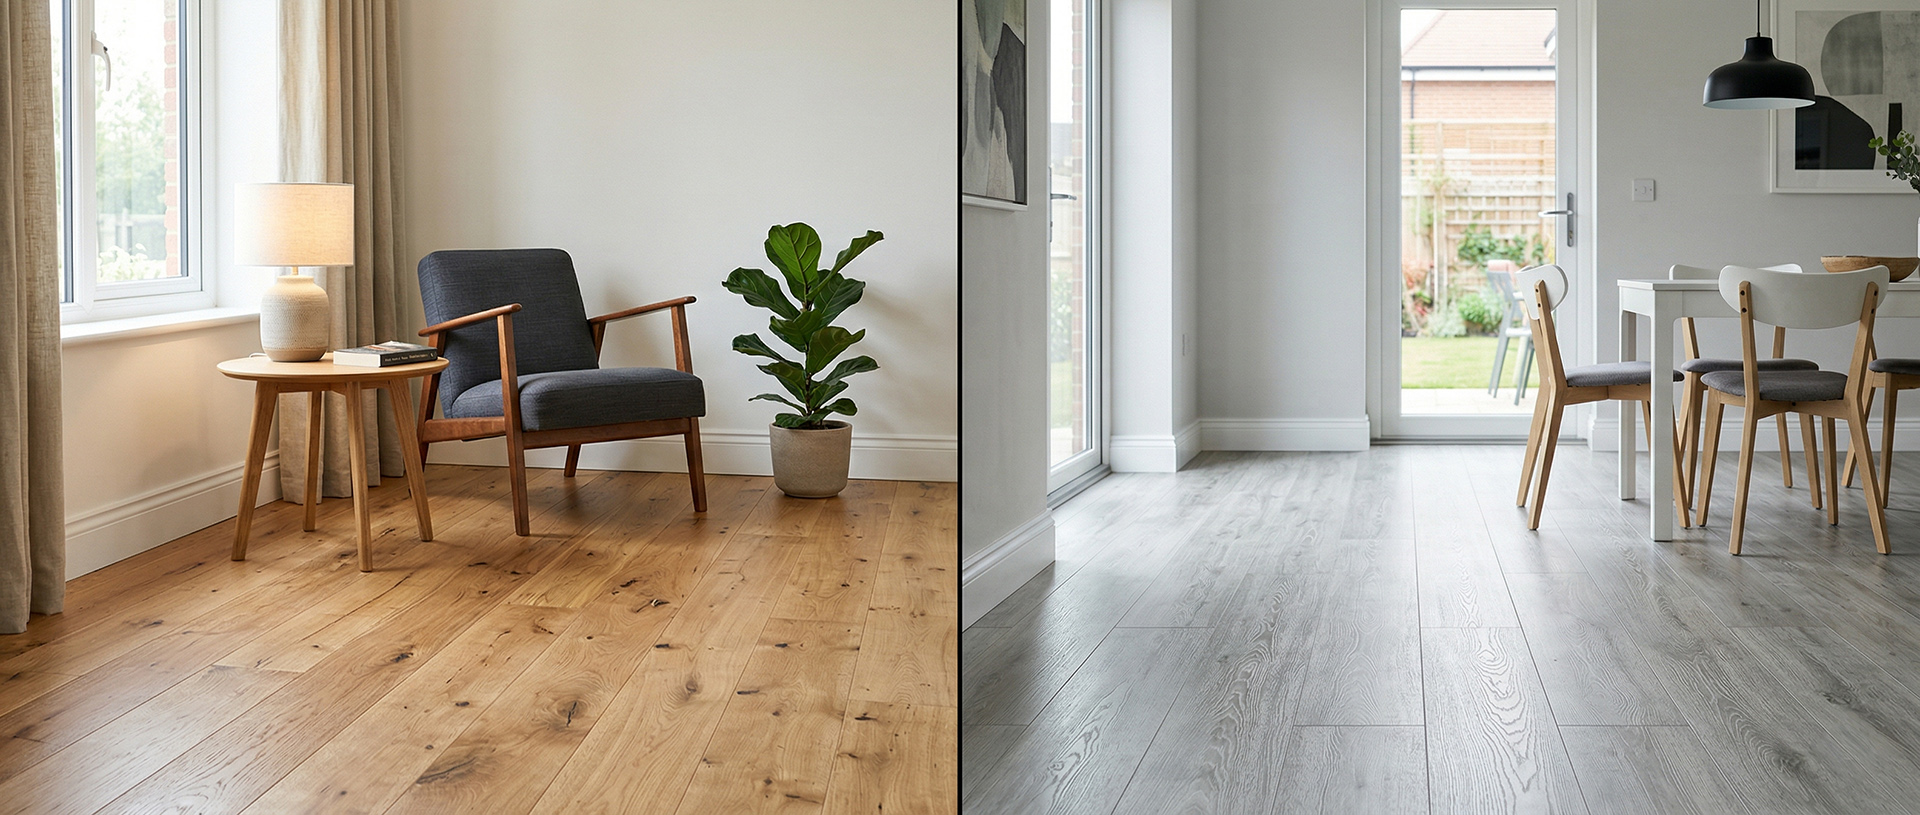
Now that you are confident in how to lay vinyl click flooring, it is time to choose a stunning new design for your home! Whether you are looking for a sleek grey stone effect for your bathroom or a warm, rustic oak design for your kitchen, Flooring Factory Outlet has exactly what you need.
Visit our expansive Croydon showroom on Purley Way to explore over 60 different lines of premium vinyl click flooring. Because we purchase clearance lines and end-of-batch stock straight from the UK’s top manufacturers, you can secure your dream waterproof floor with massive savings of up to 70% off typical high street prices. Open six days a week with ample free parking, our friendly experts are always on hand to offer fitting advice and help you grab a spectacular bargain!