Updating your bathroom or kitchen with a fresh, 100% waterproof surface is one of the most rewarding home improvements you can make. If you have purchased a beautiful new roll and want to save money on professional fitting costs, learning exactly how to lay vinyl sheet flooring is a fantastic, highly manageable DIY project for a weekend.
Because it comes in large, continuous rolls (typically 2m, 3m, or 4m wide), achieving a seamless and highly professional finish is entirely possible with the right preparation and a bit of patience. Our team of flooring specialists has put together this comprehensive, step-by-step guide to walk you through the entire process, from preparing your subfloor to making those final, crucial cuts.
Jump to a Section
- Preparing Your Subfloor Before Learning How to Lay Vinyl Sheet Flooring
- Essential Tools for the Job
- How to Lay Vinyl Sheet Flooring: The Installation Steps
- How to Lay Vinyl Sheet Flooring FAQs
- Find Your Perfect Roll at Flooring Factory Outlet
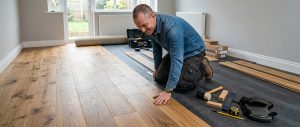
Preparing Your Subfloor Before Learning How to Lay Vinyl Sheet Flooring
Before you even unroll your new floor, you must prepare the surface beneath it. The most important rule when understanding how to lay vinyl sheet flooring is that the subfloor must be absolutely clean, dry, firm, and flawlessly flat.
Because sheet vinyl is relatively thin and flexible, it will eventually telegraph (show through) any lumps, bumps, or deep grooves from the floor below.
- Concrete Subfloors: Sweep away all dust and debris. If there are cracks or uneven areas, you must use a self-levelling compound to create a perfectly smooth surface.
- Wooden Subfloors: Ensure all floorboards are securely screwed down so they do not squeak. If the floorboards are uneven or have large gaps, you should cover them with a thin layer of flooring-grade plywood (typically 6mm thick) before proceeding.
Crucial Step: Allow your new sheet vinyl flooring to acclimatise to the room’s temperature. Unroll it in the space and leave it for at least 24 hours prior to installation so it can relax and flatten out.
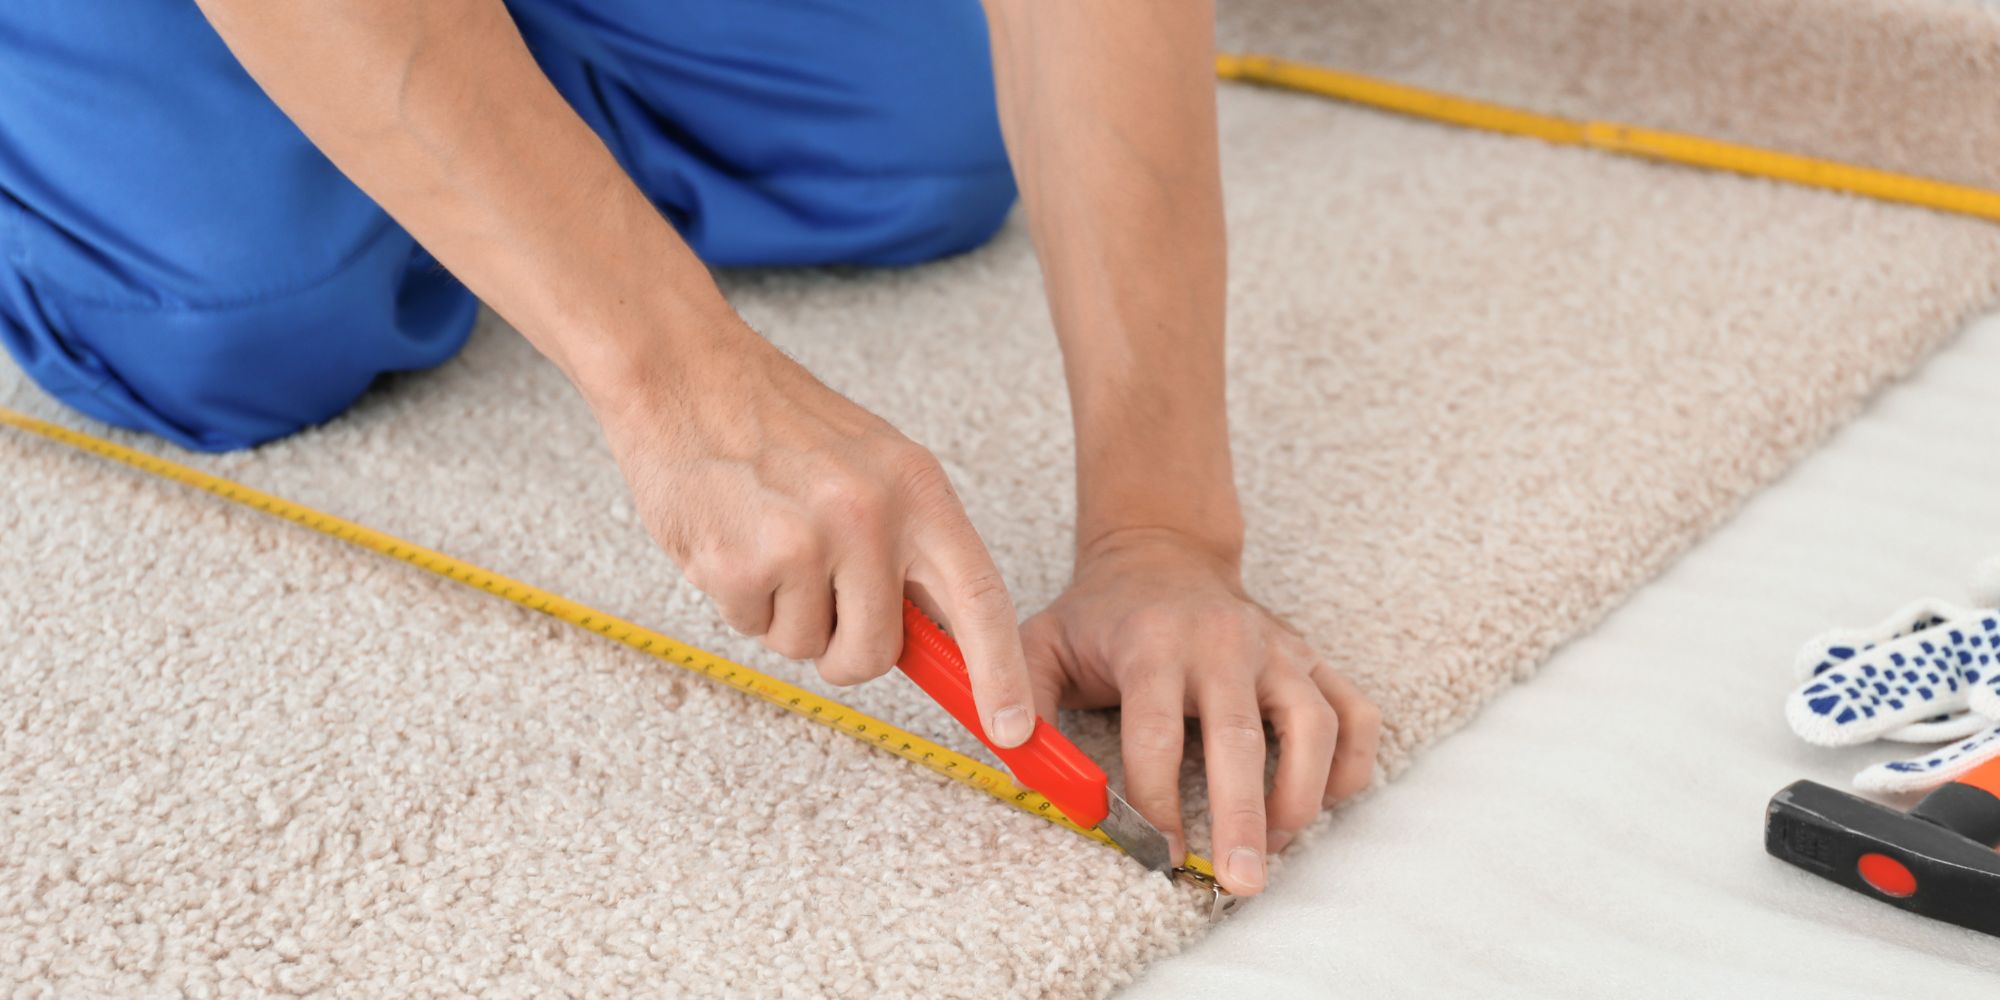
Essential Tools for the Job
To achieve a clean, professional edge without any ragged tears, you will need to gather a few essential tools before you begin cutting:
- A heavy-duty utility knife (Stanley knife) with plenty of sharp, spare blades
- A tape measure
- A long metal straight edge or a heavy spirit level
- Double-sided vinyl flooring tape or spray adhesive
- A soft broom or a vinyl smoothing tool
- Silicone sealant (for kitchens and bathrooms)
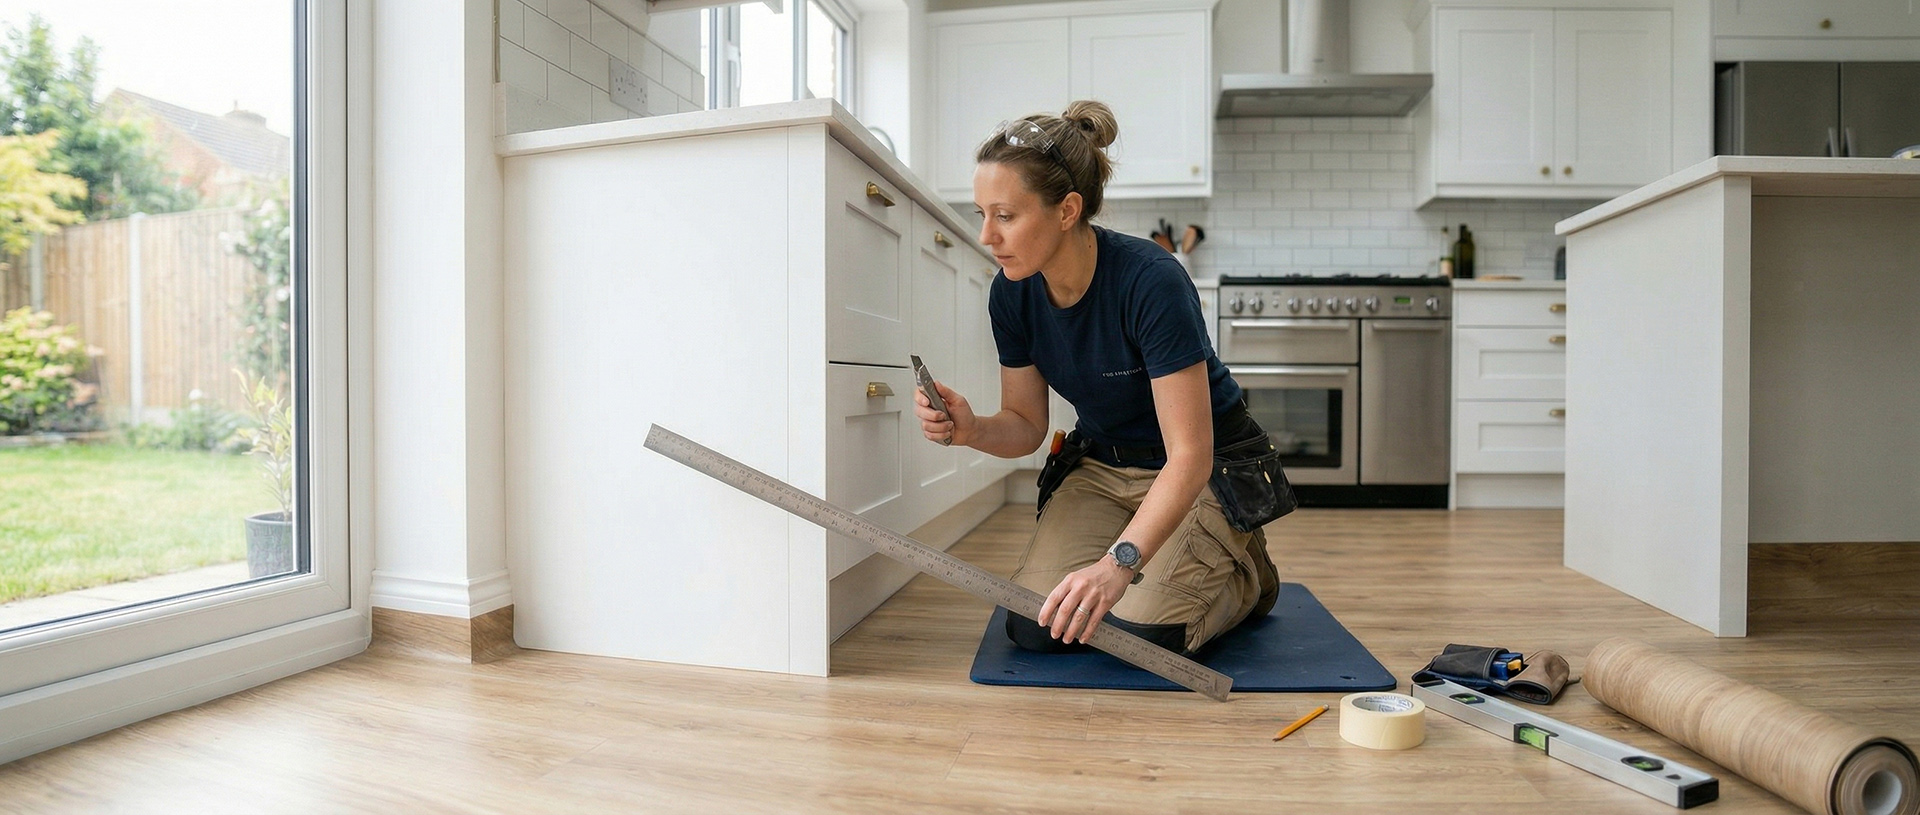
How to Lay Vinyl Sheet Flooring: The Installation Steps
Once your floor has fully acclimatised and your tools are ready, it is time to start the fitting process. Follow these core steps on how to lay vinyl sheet flooring for a flawless finish:
- Position the Roll: Lay the vinyl flat across the room, ensuring the pattern is running exactly how you want it. Allow an excess of about 5–10 centimetres to run up the skirting boards on every wall.
- Make Relief Cuts: At the internal and external corners of the room, you need to make small, careful vertical cuts in the excess vinyl. This releases the tension, allowing the sheet to lie perfectly flat against the floor and directly into the corners.
- Trim the Edges: Using your metal straight edge to firmly press the vinyl into the crease between the floor and the skirting board, take your utility knife and carefully slice away the excess. Always angle the blade slightly toward the skirting board for a tight fit. Change your blade frequently—a dull blade will tear the vinyl.
- Secure the Floor: For smaller rooms (under 12m²), perimeter fixing is often sufficient. Fold back the edges and apply double-sided vinyl tape around the perimeter of the room and across any doorways. For larger rooms or heavy-traffic areas, use a fully bonded spray adhesive across the subfloor.
- Smooth it Out: Once stuck down, use a soft broom to sweep across the floor from the centre outwards. This pushes out any trapped air bubbles and ensures strong contact with the adhesive.
How to Lay Vinyl Sheet Flooring FAQs
Do I need underlay for sheet vinyl?
Generally, no. Unlike laminate or engineered wood, sheet vinyl features a cushioned backing and is designed to be laid directly onto a smooth, flat subfloor. However, if your subfloor is very cold or slightly uneven, you must fix these issues with plywood or levelling compound rather than trying to mask them with a standard underlay.
Can I lay it over existing tiles?
When learning how to lay vinyl sheet flooring, it is highly recommended that you remove old flooring first. However, you can lay it over existing ceramic tiles, provided you use a self-levelling compound to completely fill in the grout lines. If you do not fill the grout lines, a grid pattern will eventually press through and ruin the look of your new vinyl.
How do I seal the edges in a bathroom?
To ensure your new floor is 100% waterproof, especially in wet rooms or bathrooms, you must run a neat bead of sanitary silicone sealant around the entire perimeter of the room, filling the tiny gap between the cut edge of the vinyl and the skirting board.
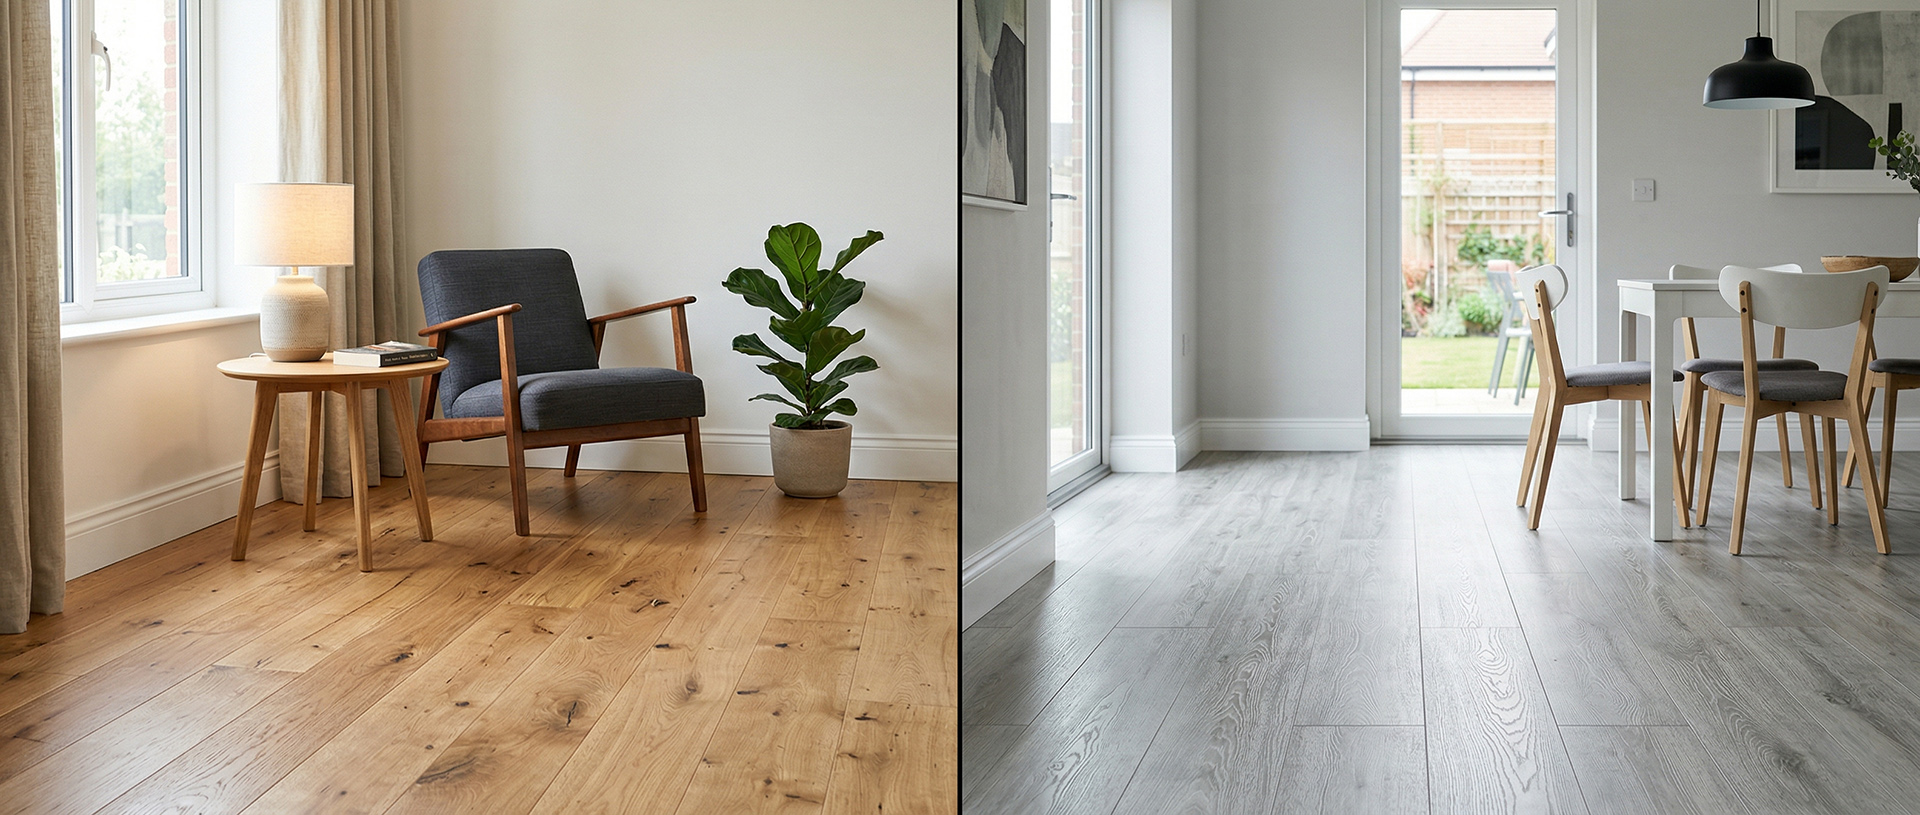
Find Your Perfect Roll at Flooring Factory Outlet
Now that you know exactly how to lay vinyl sheet flooring, it is time to pick out a stunning new design for your home! Whether you are looking for a rustic wood-plank effect for your hallway or a modern, sleek polished concrete look for your kitchen, Flooring Factory Outlet has exactly what you need.
Visit our expansive Croydon showroom on Purley Way to explore our huge selection of premium roll stock available in convenient 2m, 3m, and 4m widths. Because we purchase clearance lines and end-of-roll stock straight from the UK’s top manufacturers, you can secure your dream floor with massive savings of up to 70% off typical high street prices. Open six days a week with ample free parking, our friendly experts are always on hand to help you find a bargain and offer professional fitting advice!