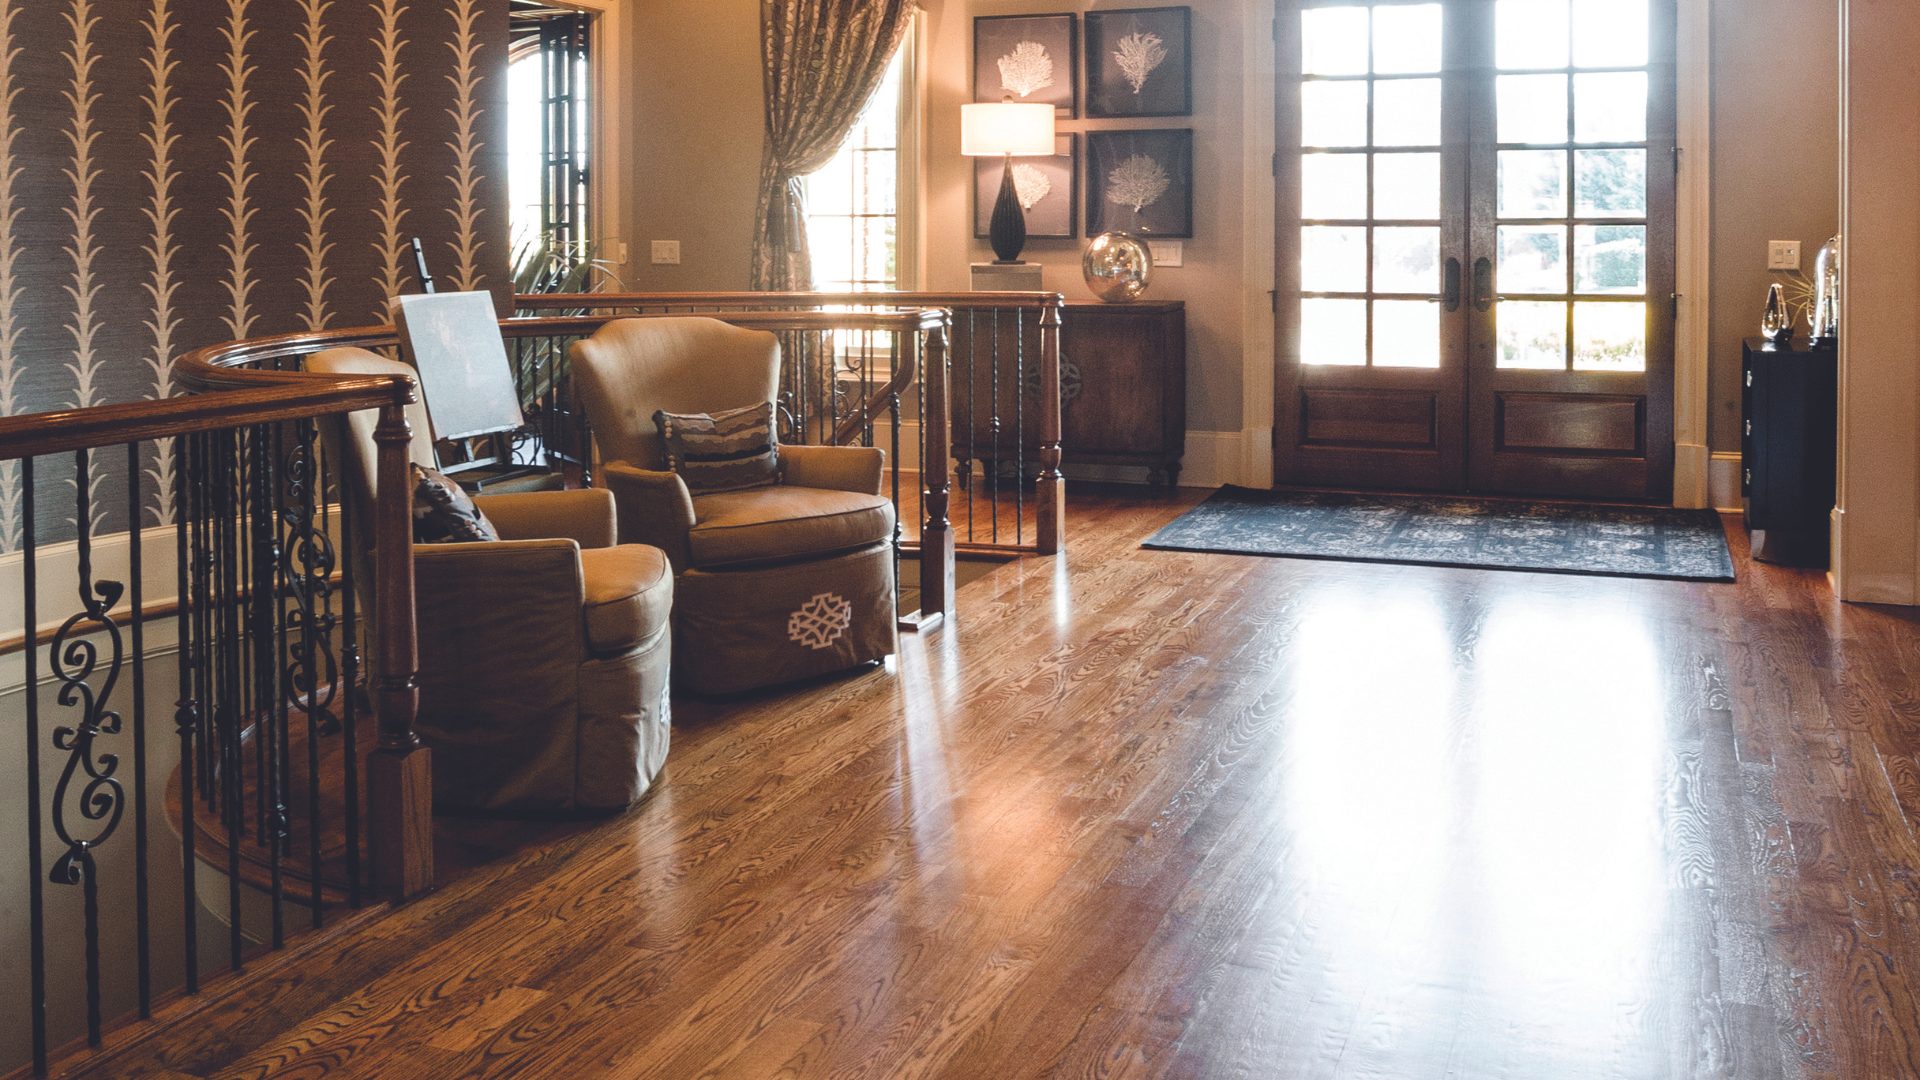
Wooden flooring is one of the finest investments you can make for your home. It brings unparalleled warmth, timeless character, and a natural elegance that synthetics simply cannot replicate. However, because timber is an organic material, it is subject to the wear and tear of daily life. No matter how careful you are, surface scratches are an inevitable consequence of busy households, active pets, moving furniture, and everyday foot traffic.
When your beautifully finished floor suffers its first noticeable scratch, it can be incredibly disheartening. Fortunately, a surface blemish does not mean you need to clear out the room and book an expensive, dusty, full-room floor sanding service. Most minor scratches can be successfully repaired at home using simple tools and techniques.
The secret to a flawless repair lies in understanding the specific type of finish protecting your wood planks. Lacquered floors and oiled floors react very differently to damage, and they require completely distinct restoration methods. This comprehensive guide provides step-by-step instructions for dealing with surface scratches on both finish types, ensuring your floor remains a stunning feature for years to come.
Jump to a Section
- Identifying Your Floor Finish: Lacquer vs. Oil
- Part 1: How to Repair Scratches on an Oiled Wooden Floor
- Part 2: How to Repair Scratches on a Lacquered Wooden Floor
- Crucial Tips to Avoid Making Scratches Worse
- Proactive Floor Protection: Preventing Future Scratches
- Frequently Asked Questions: Avoiding and Repairing Floor Scratches
Identifying Your Floor Finish: Lacquer vs. Oil
Before you pick up a piece of sandpaper or open a bottle of wood oil, you must determine exactly what type of protective coating sits on top of your timber. Applying an oiled repair method to a lacquered floor, or vice versa, will result in an unsightly patch that rejects the treatment, looks mismatched, and fails to protect the underlying wood.
Lacquered Floors
A lacquer is essentially a hard, protective film that sits squarely on top of the wood’s surface. Think of it like a clear, ultra-durable shell of armor. It can come in high-gloss, satin, or modern matt finishes. When a lacquered floor scratches, you are usually scratching the clear protective plastic-like coating itself, rather than the wood underneath. If the scratch catches the light and looks white or silvery, you are dealing with a superficial lacquer scratch.
Oiled Floors
An oil finish works by penetrating deep into the cellular structure of the timber, curing inside the wood fibers rather than forming a thick skin on top. This finish preserves the raw, tactile texture of the natural wood grain. When an oiled floor scratches, the blemish often exposes raw, unprotected wood fibers underneath. While oiled floors scratch a bit more easily than lacquered ones, they have a massive advantage: they are significantly easier to spot-repair locally.
Part 1: How to Repair Scratches on an Oiled Wooden Floor
Oiled floors are a dream for localized repairs. Because the oil saturates the wood rather than coating it, you can work on a tiny, isolated zone without affecting the surrounding planks. The new oil will blend seamlessly with the old, making the repair virtually invisible.
Tools and Materials Required
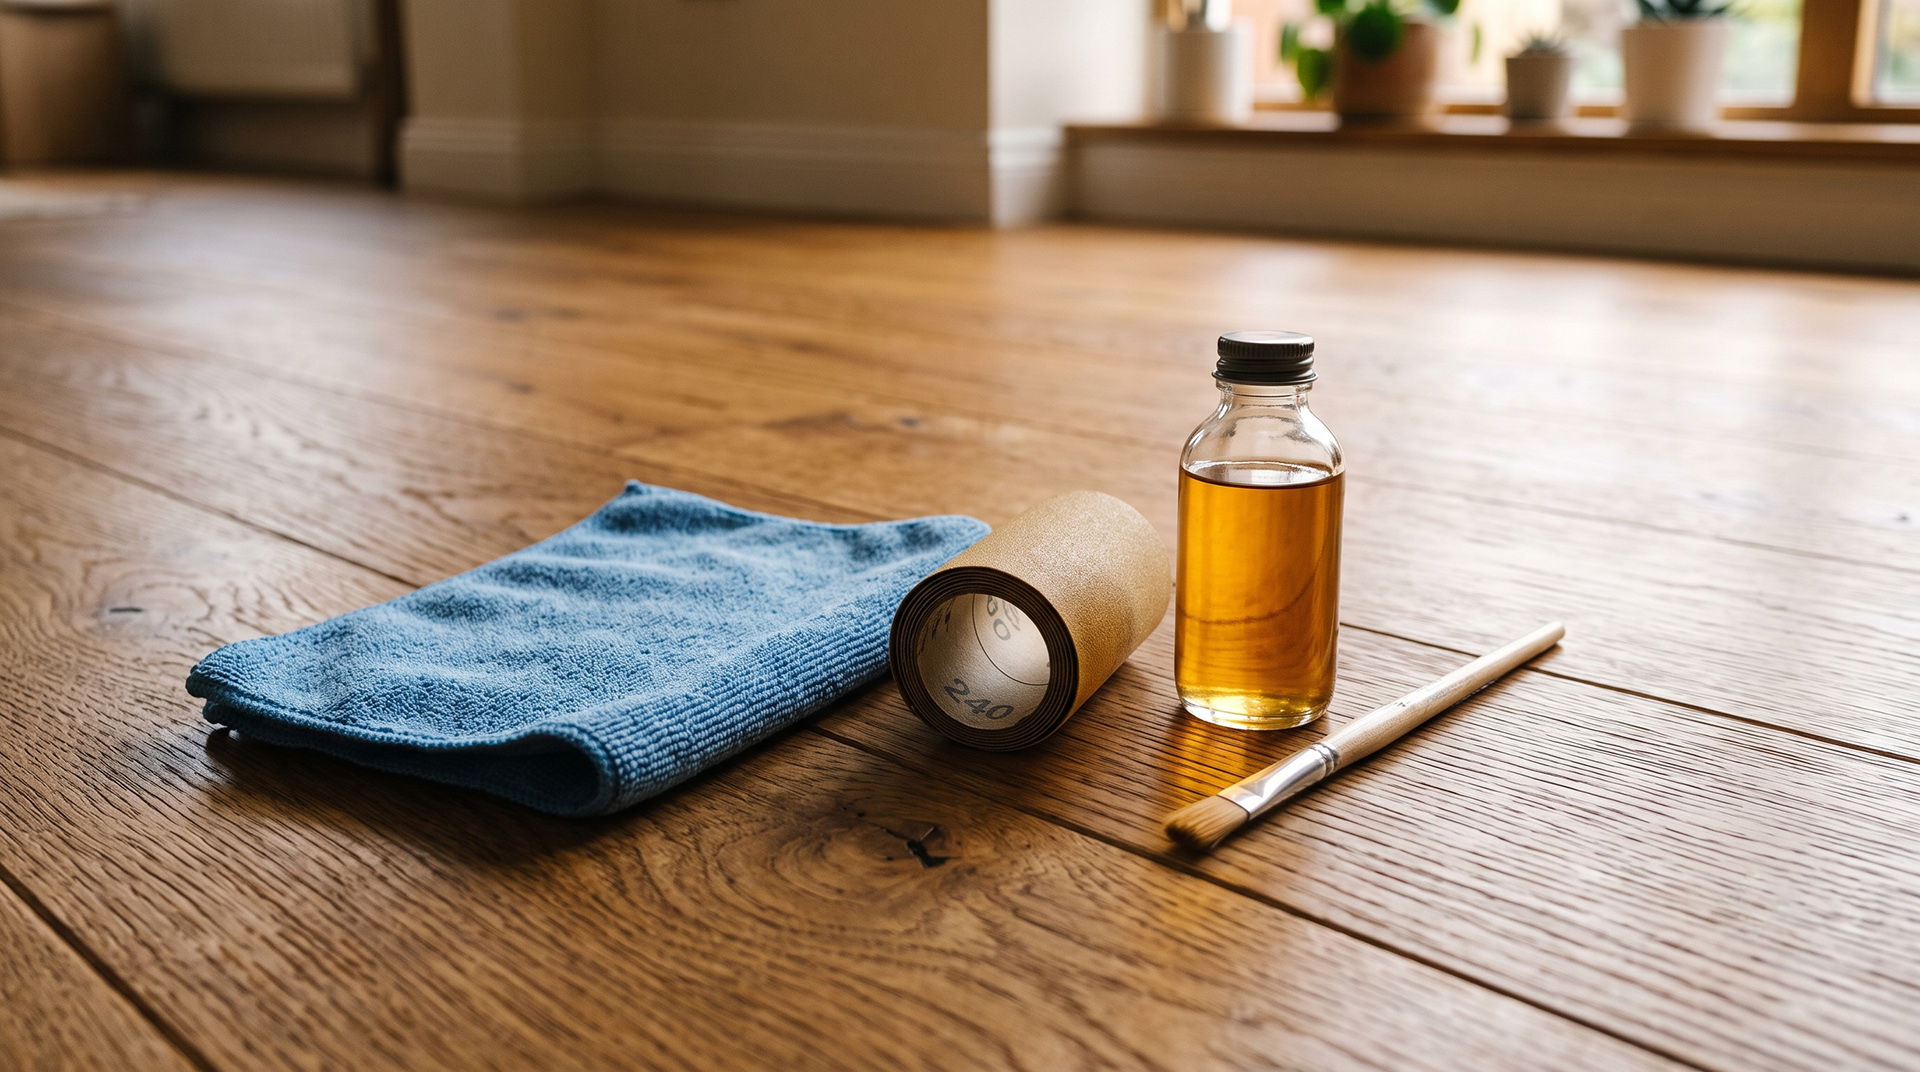
- Specialised wooden floor cleaner (pH-neutral)
- Microfibre cloths
- Fine-grit sandpaper (180-grit and 240-grit)
- A matching maintenance oil or hardwax oil (clear or tinted to match your floor)
- A lint-free cotton cloth or small artist’s paintbrush
- Fine wire wool (grade 0000, optional)
Step-by-Step Instructions for Oiled Floors
Step 1: Deep Clean the Target Area
Any dirt, grit, or dust trapped inside a scratch will act as an abrasive during the repair and ruin the final look. Clean the scratched area thoroughly using a dedicated, pH-neutral wood floor spray and a microfibre cloth. Allow the surface to dry completely before moving on to the next step.
Step 2: Gently Sand the Scratch
For light surface scratches, take your 240-grit fine sandpaper and sand very gently along the exact direction of the natural wood grain. Never sand across the grain, as this will introduce new, permanent scratches. Apply minimal physical pressure. Your goal is simply to smooth out the jagged edges of the scratch and open up the wood fibers so they can absorb the fresh oil. For slightly deeper blemishes, you can start with 180-grit sandpaper and finish with 240-grit.
Step 3: Vacuum and Wipe Away All Dust
Once the scratch feels completely smooth to the touch, vacuum the area thoroughly to remove all traces of sawdust. Follow up with a damp (but not wet) cloth to catch any microscopic particles. Let the area dry entirely.
Step 4: Reapply the Floor Oil
Shake your floor maintenance oil thoroughly. Dip your lint-free cotton cloth or a small artist’s paintbrush into the oil. Apply a very small amount directly into the sanded scratch, working in the direction of the grain. Less is definitely more here; you do not want a pool of oil sitting on the floor.
Step 5: Buff and Blend the Finish
Let the oil sit on the wood for roughly 5 to 10 minutes to allow the timber fibers to drink it in. Take a clean, dry, lint-free cloth and vigorously buff the area. This removes any excess oil from the surface and blends the edges of the repair into the surrounding, untouched floor. If the wood still looks a little parched after a few hours, apply a second ultra-thin coat. Keep off the area for at least 4 to 6 hours while it cures.
Part 2: How to Repair Scratches on a Lacquered Wooden Floor
Repairing a lacquered floor requires a more delicate touch. Because lacquer forms a continuous, hard, reflective sheet across the floor, you cannot easily sand a small spot without breaking the seal. If you sand too aggressively, you will create a dull, cloudy patch that stands out drastically against the rest of the room. The objective here is to disguise or fill the scratch without disturbing the intact surrounding lacquer.
Tools and Materials Required
- pH-neutral wood floor cleaner
- Microfibre cloths
- A specialised lacquer repair pen or clear touch-up lacquer (matching your floor’s sheen: gloss, satin, or matt)
- A wood floor scratch cover or camouflage polish
- Hard wax filler sticks (for deep scratches) and a heating tool
- A plastic scraper or old credit card
Step-by-Step Instructions for Lacquered Floors
Step 1: Clean and Degrease
Just like with an oiled floor, begin by meticulously cleaning the scratched area. Lacquered finishes are highly reflective, meaning any grease or dirt trapped under a repair coating will be highly visible. Wipe clean and let it dry completely.
Step 2: Evaluate the Severity of the Scratch
Examine the scratch closely. If it is a very fine, faint mark that has only dulled the surface without piercing down to the wood, a specialized wood floor polish or scratch cover fluid may be all you need. These products flow into the micro-fissure, matching the refractive properties of the lacquer to make the scratch vanish optically. Simply rub the polish over the scratch with a cloth and buff dry.
Step 3: Treat Fine Scratches with a Lacquer Pen
If the scratch is deep enough to see a white line but has not harmed the wood below, use a clear lacquer touch-up pen that matches your floor’s sheen level (matt, satin, or gloss). Carefully draw along the line of the scratch, allowing the liquid lacquer to fill the void. Use a clean cloth to immediately wipe away any excess liquid that lands outside the scratch line. Let it dry for the time recommended on the product label.
Step 4: Filling Deeper Scratches with Hard Wax
If the scratch has broken completely through the lacquer coating and gouged into the actual wood below, you will need a hard wax repair kit. Select a wax stick that matches the base colour of your flooring timber.
- Use the battery-operated melting tool from your kit to melt a tiny drop of wax directly into the scratch. Fill it slightly higher than the surface of the floor.
- Allow the wax to cool and harden completely, which usually takes about one minute.
- Use the plastic scraper or an old credit card held flat against the floor to carefully shave away the excess wax until it sits perfectly flush with the surrounding floor boards. Never use a metal blade, as this will gouge the surrounding lacquer.
Step 5: Seal the Repair
Once the wax is flush, the repaired area will have a slightly matt appearance. If your floor is satin or gloss, apply an ultra-thin coat of clear touch-up lacquer over the wax plug using a fine brush to match the sheen and seal the repair permanently against moisture.
Crucial Tips to Avoid Making Scratches Worse
When working on a DIY floor repair, it is incredibly easy to accidentally turn a minor blemish into a massive eyesore. Keep these golden rules in mind:
- Avoid Over-Sanding: Never use heavy-duty or coarse sandpaper on a localized scratch. You will sand right through the veneer of engineered flooring or create a distinct dip in solid wood. Always start with the finest grit possible.
- Steer Clear of Household Oils: Never use olive oil, vegetable oil, or furniture polishes containing silicone on your wooden floor. Vegetable oils do not dry; they turn rancid, sticky, and attract dirt. Silicone ruins the surface tension of the floor, making it impossible to successfully re-coat the floor with lacquer or oil in the future.
- Always Test First: Before applying any repair pen, wax, or oil to the middle of your room, test it out in an inconspicuous area first—such as inside a cupboard, behind a door, or underneath where a sofa permanently sits. This ensures the colour and sheen match perfectly.
Proactive Floor Protection: Preventing Future Scratches
The easiest floor scratch to repair is the one that never happens in the first place. Implementing a few simple preventative habits will drastically reduce the amount of maintenance your wooden floors require over their lifespan.
Use High-Quality Felt Pads
Attach heavy-duty, self-adhesive felt protector pads to the bottom of every single piece of furniture in the room. This includes table legs, heavy sofas, and especially dining chairs that are slid back and forth multiple times a day. Replace these pads every six months, as they trap grit over time and can eventually turn into sandpaper themselves.
Implement a Strict Barrier Mat System
Place large, high-quality walk-off mats at every external entrance to your property. The vast majority of scratches are caused by tiny pieces of grit, sharp gravel, and sand brought in on the soles of outdoor footwear. A good mat system catches this abrasive debris before it ever touches your timber planks. Better yet, adopt a strict shoes-off policy at the front door.
Keep Pet Nails Trimmed
If you have dogs or cats, their claws can act like miniature chisels on a timber floor, especially when they run or get excited. Keeping your pets’ nails clipped short and smooth is one of the most effective ways to preserve both oiled and lacquered finishes.
Regular Cleaning Routine
Vacuum or sweep your floors regularly using a soft-bristled attachment or a dry dust mop. Removing micro-particles of dust and dirt promptly prevents them from being ground into the finish under the weight of people walking across the room.
By understanding the differences between oiled and lacquered surfaces and following these step-by-step techniques, you can confidently manage surface scratches and maintain the flawless appeal of your flooring.
Frequently Asked Questions: Avoiding and Repairing Floor Scratches
1. How can I tell if my floor has an oiled or lacquered finish before starting a repair?
You can test this by dropping a single bead of water onto an undamaged area of the floor. On a lacquered floor, the water will bead up and sit cleanly on top of the hard barrier without absorbing. On an oiled floor, the water will slowly seep into the wood grain within a few minutes, darkening the area slightly because there is no synthetic plastic film covering the surface.
2. Will a trade account discount at a flooring outlet cover repair accessories like wax kits and floor oils?
Yes, most comprehensive trade accounts apply special discounted rates across both primary floor coverings and the entire accessories range. This includes essential repair items such as hard wax filler sticks, heating tools, lacquer touch-up pens, specialized buffing pads, and maintenance oils, allowing professionals to stock up on repair kits cost-effectively.
3. Can I use a regular vacuum cleaner on my hardwood floor without scratching it?
You can, but you must switch off the rotating brush bar (also known as the beater bar) or use a dedicated hard floor attachment with soft bristles. Standard rotating vacuum brushes are designed to agitate carpet fibers and contain stiff plastic bristles that can easily leave fine, cloudy swirl marks across both lacquered and oiled wood surfaces.
4. What should I do if a deep scratch cuts completely through the veneer of an engineered wood floor?
If the scratch goes all the way through the real timber veneer and exposes the plywood or HDF core block underneath, you must fill it immediately to prevent moisture from causing the floor boards to warp. Use a color-matching hard wax stick melted directly into the gouge, scrape it completely flush, and seal it with a touch-up lacquer pen or maintenance oil to protect the core.
5. Why do fine surface scratches on a glossy lacquered floor often look bright white or silvery?
When a sharp object scratches a hard lacquer shell, it fractures the clear synthetic coating rather than the wood itself. This micro-fracture changes the way light reflects off the surface, scattering the light rays and making the scratch appear bright white or silver. Applying a clear lacquer pen or scratch camouflage oil fills this microscopic fissure, restoring regular light refraction and making the blemish vanish optically.
6. Can I use ordinary supermarket furniture polish or spray to hide scratches on my wood floor?
No, you should strictly avoid household furniture sprays and polishes because they frequently contain silicone or heavy wax additives. While they might briefly hide a scratch, silicone leaves a slippery invisible residue that permanently prevents any future coat of lacquer or professional oil from adhering to the floor, rendering future professional restorations impossible.
7. How often should I replace the protective felt pads on my furniture legs to prevent scratching?
You should inspect and replace the self-adhesive felt protector pads on your furniture every six months. Over time, these pads flatten out under the weight of the furniture and trap micro-grit, sand, and pet hair from the floor. Once a felt pad becomes compacted with debris, it acts like a piece of heavy-grit sandpaper every time the chair or table is moved.
8. Is it possible to fix a scratched area on a lacquered floor without sanding down the entire room?
Yes, you can fix individual scratches on a lacquered floor using a precise touch-up clear lacquer pen or a hard wax repair kit for deeper gouges. The key is to avoid using sandpaper over a wide area, which creates a noticeable dull, cloudy patch in the continuous sheen of the room. Keep your repair strictly localized directly within the lines of the scratch itself.
9. Why is it easier to repair surface scratches on an oiled wood floor compared to a lacquered one?
Oiled floors are incredibly easy to spot-repair because the finish is embedded inside the wood fibers rather than forming a hard sheet on top. This means you can lightly sand a tiny, isolated blemish along the grain and reapply a small drop of maintenance oil. The fresh oil will blend seamlessly into the existing finish without leaving any visible borders or halo marks.
10. Do heavy-duty entrance mats really help reduce the frequency of scratches on timber flooring?
Yes, implementing an aggressive walk-off mat system at all external doorways is the single most effective way to prevent floor scratches. The vast majority of surface abrasions are caused by microscopic stones, sharp grit, and sand carried in on outdoor footwear. High-quality barrier mats trap this abrasive debris at the threshold before it can ever be ground into your timber planks.