When installing a new floor, it is incredibly easy to get caught up in what the end result will look like. Homeowners and property developers spend weeks comparing samples and colours of a multitude of different types of flooring.
However, the secret to a, long-lasting installation does not lie soley in the flooring material itself but the sub floor and its preparation are integral to a perfect finish.
In the flooring industry, there is an undisputed golden rule: your finished floor is only ever as good as the subfloor underneath it. Skipping or rushing the preparation phase is the single biggest cause of post-installation floor failures. Neglecting this crucial step leads to creaking timber planks, bouncing laminate boards, telegraphing ridges through vinyl sheet, and structural damp issues that can ruin expensive investments within a matter of months.
Subfloor preparation is not a one-size-fits-all task. The method required depends entirely on whether you are working with a timber or concrete base, combined with the specific technical demands of the floor covering you plan to lay. This comprehensive guide breaks down the essential processes for preparing both timber and concrete subfloors, alongside a detailed breakdown of how different floor coverings dictate the level of preparation required.
Jump to section
- Part 1: Preparing a Wood Subfloor
- Part 2: Preparing a Concrete Subfloor
- Part 3: Sizing Up Your Floor Covering: Which Needs More Prep?
- The Ultimate Checklist for Subfloor Readiness
- Floor Covering Subfloor Preparation Matrix
Part 1: Preparing a Wood Subfloor
Timber subfloors, typically consisting of traditional floorboards, tongue-and-groove planks, or modern chipboard sheets, offer excellent natural warmth and flexibility. However, they are highly prone to structural movement, warping, and localized squeaking as seasonal humidity changes.
Step 1: Structural Soundness and Fixing Squeaks
Before adding any new materials, you must walk slowly across the entire room to locate loose boards, dipping areas, or friction squeaks. Squeaks are caused by timber rubbing against neighbouring boards or loose nails sliding inside joists. Secure every single loose board using high-quality twin-thread woodscrews. Countersink the screw heads slightly below the surface of the wood. Never rely on traditional nails, as they will inevitably loosen and lift over time, pushing up through your new floor covering.
Step 2: Levelling and Sanding High Spots
Timber subfloors must be flat. Use a long straightedge or a spirit level across the floor to identify high points and structural dips. High spots, such as crowned or warped floorboards, should be planed down or sanded flat using a heavy-duty orbital sander. For minor dips, specialized timber-compatible smoothing compounds can be applied, but significant structural sags may require lifting the boards to pack out or sister the joists underneath.
Step 3: Overlaying with Plywood
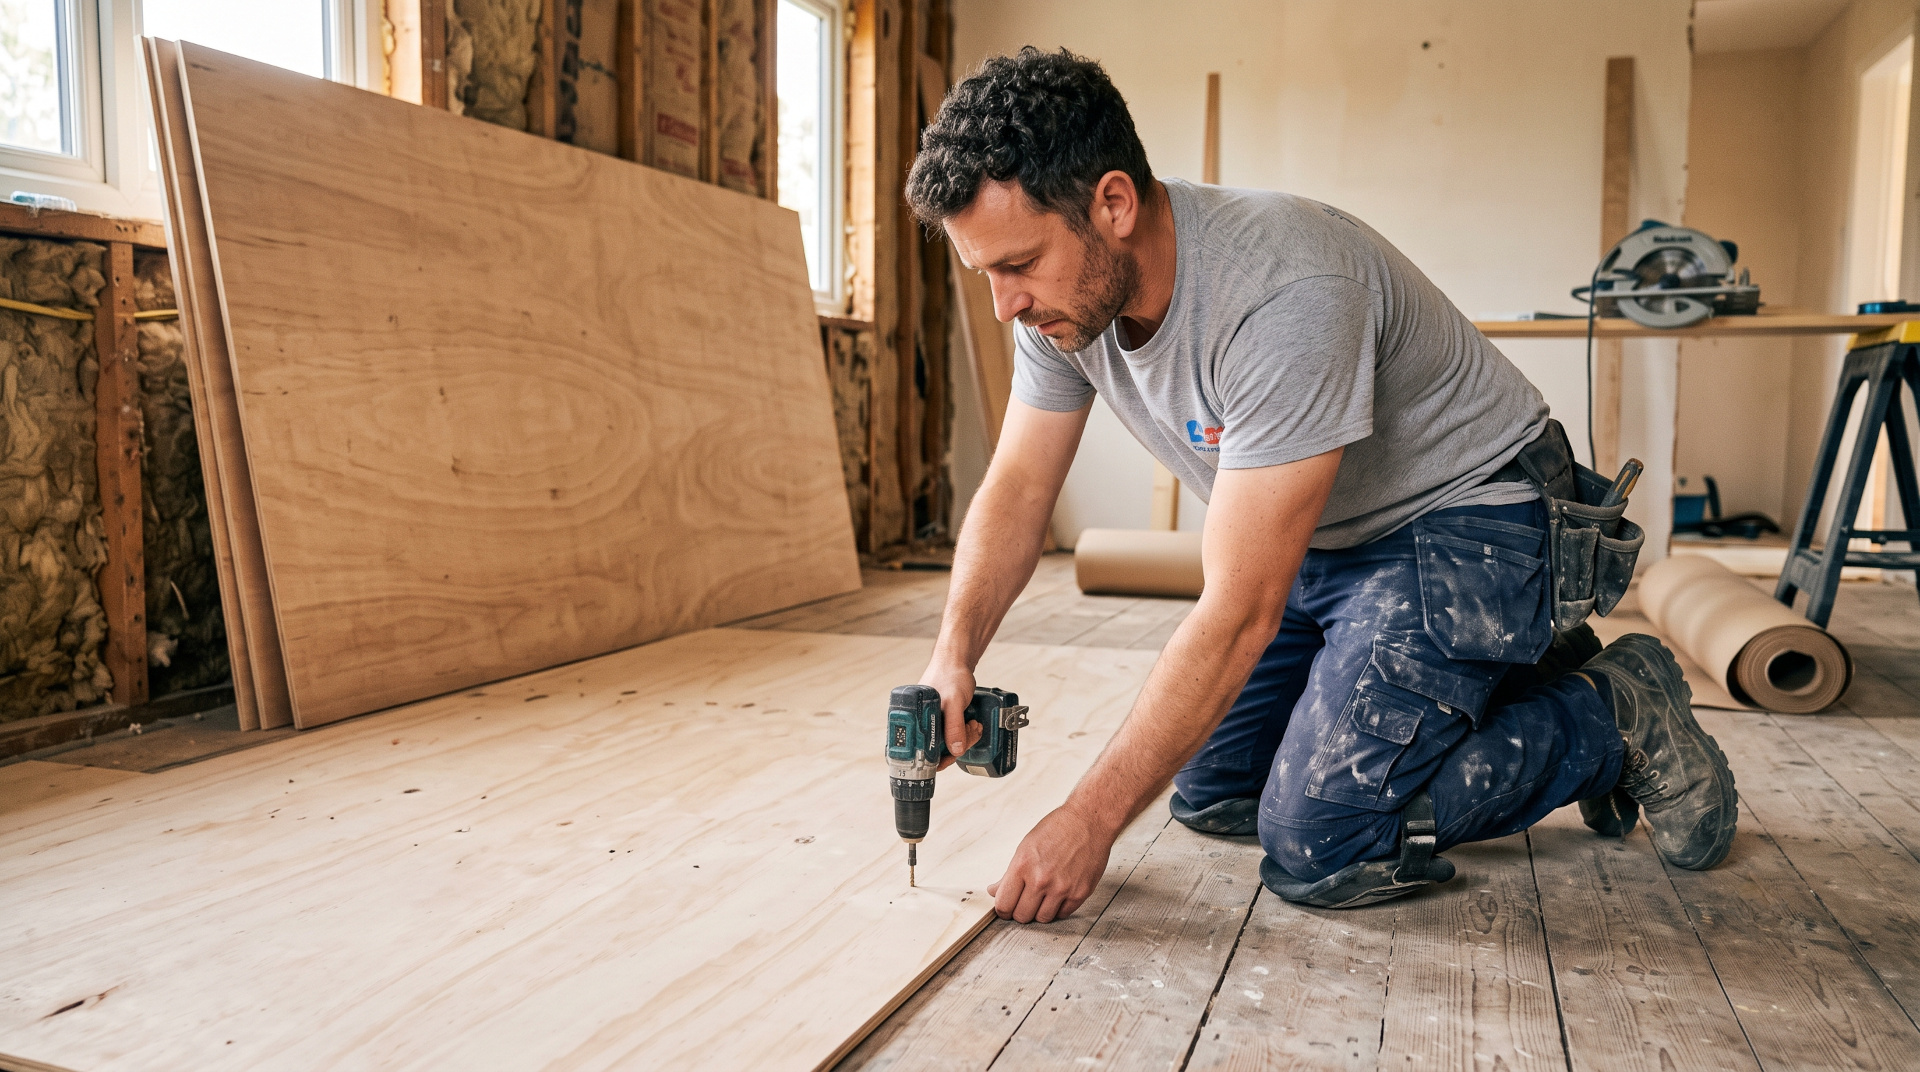
If you are planning to install thin, flexible, or highly sensitive floor coverings, overlaying the existing timber boards is an absolute necessity. Installs usually require a minimum of 6mm exterior-grade, flooring-quality plywood (frequently specified as SP101 standard).
Lay the plywood sheets in a brick-bond pattern, leaving a microscopic 1mm expansion gap between the panels. Fix the sheets down using ring-shank nails or specialized screws spaced at 100mm intervals along the edges and 150mm across the centre matrix. This creates a beautifully flat, uniform surface that allows for a lot of different flooring to now be installed without the worry of any future issues
Part 2: Preparing a Concrete Subfloor
Concrete subfloors, sand-cement screeds, and liquid anhydrite bases provide an incredibly solid foundation. However, their primary enemies are excess moisture, uneven surface textures, and structural surface laitance.
Step 1: The Critical Moisture Test
Concrete behaves like a giant sponge; it holds moisture deep within its core structure. Installing a non-porous floor covering over a damp concrete base traps moisture vapor underneath, resulting in adhesive breakdown, mold growth, and severe structural warping.
You must test the relative humidity (RH) of the slab using a calibrated digital hygrometer. According to British Standards, a concrete subfloor must show a moisture reading below 75% RH before any standard flooring installation can begin. For underfloor heating systems, this threshold drops even lower to 65% RH. If your base exceeds these levels, you must apply a liquid epoxy damp proof membrane (DPM) to create a permanent, synthetic barrier against rising moisture vapor.
Step 2: Surface Decontamination and Laitance Removal
A concrete subfloor must be clean, dry, and mechanically sound. Remove all old adhesive residues, paint spills, plaster drops, grease, and drywall dust. New concrete screeds often develop a fragile, crumbly, milky surface layer known as laitance as they dry out. This weak layer must be mechanically removed via diamond grinding or shot-blasting to expose the sound, aggregate-rich concrete beneath. Failing to remove laitance means any leveling compounds or adhesives applied later will simply peel away from the floor under foot traffic.
Step 3: Priming and Applying a Self-Levelling Compound
Once clean and dry, apply a high-quality acrylic floor primer to the concrete. The primer seals the porous surface, prevents the concrete from aggressively sucking water out of your fresh smoothing compound, and ensures a flawless chemical bond.
Next, pour a premium, cement-based self-levelling smoothing compound across the floor. Use a spiked roller immediately after pouring to release trapped air bubbles and help the liquid flow out into a perfectly level, mirror-smooth canvas.
Part 3: Sizing Up Your Floor Covering: Which Needs More Prep?
Different flooring materials have completely different tolerances for subfloor imperfections. Some materials are incredibly forgiving, easily absorbing minor ridges and dips, while others require the floor to be completely solid flat firm and stable before anything can be laid.
For floor coverings that require absolute flatness and smoothness, such as luxury vinyl tiles (LVT) and thin sheet vinyl, the highest preparation level is mandatory. Vinyl is a highly flexible, relatively thin material.Click vinyl demands a meticulously fitted layer of at least a 8mm plywood, with all joint lines and fastener indentations filled using a specialized feathering compound. On concrete, it requires a pristine, diamond-ground finish topped with a premium smoothing compound. There are absolutely zero shortcuts when prepping for vinyl.
Hard plank floor coverings like engineered wood and laminate boards sit in the moderate to high preparation category. They are rigid, meaning they will not telegraph tiny grains of sand or minor surface scratches through to the finished surface. However, they are highly sensitive to long-wave deviations, which means structural dips and slopes across the room. Most tongue-and-groove or click-lock plank profiles require the subfloor to be flat to within a tight tolerance of 2mm over a 2-metre straight edge. If you install rigid planks over a dipping subfloor, the boards will span across the hollows like a bridge. Every time someone walks across the room, the floor will flex, bounce, and give underfoot. Over time, this vertical movement puts immense structural stress on the interlocking click joints, causing them to crack, separate, and creak permanently. Furthermore, wood and laminate installations require a dedicated underlay system. This underlay provides a small amount of localized smoothing, cushioning, and acoustic insulation, but it cannot fix a structurally uneven floor.
Traditional sheet carpet combined with a thick, high-quality underlay foam sits at the lower end of the preparation spectrum, being by far the most forgiving floor covering available. The deep, compressible nature of the underlay combined with the flexible textile structure of the carpet allows it to easily absorb minor subfloor imperfections. If your timber floorboards have slight height variations, or if a concrete floor has minor surface rough patches, a premium carpet installation will effortlessly mask these flaws from view. However, a lower technical requirement does not mean you can skip the preparation entirely. The subfloor must still be dry, completely free of structural rot, and clear of large debris. Any severely loose, squeaking floorboards or significant deep craters in concrete will eventually make their presence felt, even though a thick carpet pile.
The Ultimate Checklist for Subfloor Readiness
Before you officially allow your flooring fitters to unpack their materials and lay down the first row of flooring, run through this universal readiness checklist:
- Cleanliness: Is the subfloor completely free of dust, plaster, paint, grease, and old adhesive residues?
- Dryness: Has a digital hygrometer test officially confirmed that the concrete relative humidity sits safely below 75% RH (or 65% RH for underfloor heating setups)?
- Flatness: Have you run a long straightedge across the entire room to confirm that surface variations do not exceed 2mm over a 2-metre span?
- Soundness: Are all timber floorboards tightly secured with countersunk screws? Are there any remaining creaks, squeaks, or springy zones?
- Compatibility: Have you applied the correct primer, smoothing compound, or plywood grade specifically specified for your chosen surface flooring material?
By respecting the unique characteristics of your base material and matching your preparation workflow to the exact demands of your chosen flooring, you can guarantee a professional, creak-free, and stunning finish that stands up to the demands of everyday life.
Floor Covering Subfloor Preparation Matrix
Below is a direct breakdown of common floor coverings and the specific level of subfloor preparation they require before installation can begin:
- Glue down Luxury Vinyl Tiles (LVT): Excellent preparation required – Any tiny grain of sand, proud screw head, or minor trowel ridge will telegraph directly through the thin vinyl and show on the finished surface.
- Click-Lock Luxury Vinyl Tiles (LVT): Excellent preparation required – Requires a perfectly smooth base to ensure the thin, fragile click-lock joints do not snap or separate under foot traffic.
- Sheet Vinyl Flooring: Excellent preparation required – The flexible material easily moulds itself around every bump, dip, or plywood joint seam underneath, ruining the smooth aesthetic.
- Thin Laminate Flooring (7mm–8mm): Good preparation required – Dips in the subfloor will cause the boards to flex underfoot, putting severe structural stress on the interlocking joints.
- Premium Thick Laminate Flooring (12mm+): Good preparation required – While more structurally rigid, it still requires a flat surface to prevent bouncing and joint separation over time.
- Engineered Wood Flooring (Floating Install): Good preparation required – Needs a flat subfloor within a tolerance of 2mm over a 2-metre span to prevent a hollow, springy feel when walked upon.
- Solid Wood Flooring (Gluedown or Nailed): Good preparation required – The foundation must be flat and structurally sound to ensure a perfect adhesive bond or to allow secret-nailing into the joists.
- Traditional Sheet Carpet (with Premium Underlay): Moderate preparation required – The thick foam underlay and textile carpet pile are highly forgiving and will naturally mask minor surface rough patches and slight height variations.
- Carpet Tiles: Good preparation required – Unlike sheet carpet, individual tiles require a flat surface to ensure the edges and corners meet perfectly without creating trip hazards.
- Linoleum Flooring: Excellent preparation required – This natural, flexible sheet product mirrors subfloor imperfections just as aggressively as synthetic sheet vinyl.
- Cork Flooring (Glue down): Excellent preparation required – Highly flexible and prone to showing any subfloor roughness or debris trapped underneath the adhesive layer.