When specifying and installing a new hard floor, the perimeter finishing requires exact attention to detail. Beading for laminate flooring is not merely a decorative addition; it is a critical component required for the long-term performance of a floating floor installation.
Because high-density fibreboard (HDF) core products react to changes in ambient humidity and temperature, proper expansion gaps are mandatory. This guide details the technical requirements for perimeter mouldings, the differences in profile shapes, and the correct fixing methods to ensure your installation meets manufacturer tolerances without restricting the natural movement of the floor.
Jump to a Section
- Why Beading for Laminate Flooring is a Structural Requirement
- Scotia vs. Beading for Laminate Flooring: Understanding Profiles
- Selecting the Correct Materials and Colour Matches
- Installation Guide: Fitting Beading for Laminate Flooring
- Beading for Laminate Flooring FAQs
- Secure Your Finishing Touches at Flooring Factory Outlet
Why Beading for Laminate Flooring is a Structural Requirement
All laminate products must be installed as a “floating floor” over an acoustic underlay. This means the boards are clicked together but never glued or nailed directly to the subfloor. As the room’s temperature and humidity fluctuate across the seasons, the entire floor system will laterally expand and contract.
To accommodate this movement, fitters must leave an expansion gap of between 8mm and 12mm around the entire perimeter of the room, including around pipes and door frames. If this gap is restricted, the planks will buckle, warp, or snap at the joints. The primary function of beading for laminate flooring is to securely bridge and conceal this expansion gap without pinning the floorboards down, protecting the vulnerable cut edges from moisture, dirt, and heavy impact.
Scotia vs. Beading for Laminate Flooring: Understanding Profiles
When sourcing your edge mouldings, you will encounter two primary shapes. While both serve the exact same mechanical purpose, their profiles differ slightly:
- Scotia: This profile features a concave surface (curved inwards). It is the most common specification for modern interiors, offering a subtle, streamlined transition between the horizontal floor line and the vertical skirting board.
- Beading (Quadrant): Standard beading for laminate flooring features a convex surface (curved outwards), often referred to as a quadrant. It offers a slightly bulkier, more traditional visual finish and is highly effective at covering slightly wider expansion gaps in period properties with uneven walls.
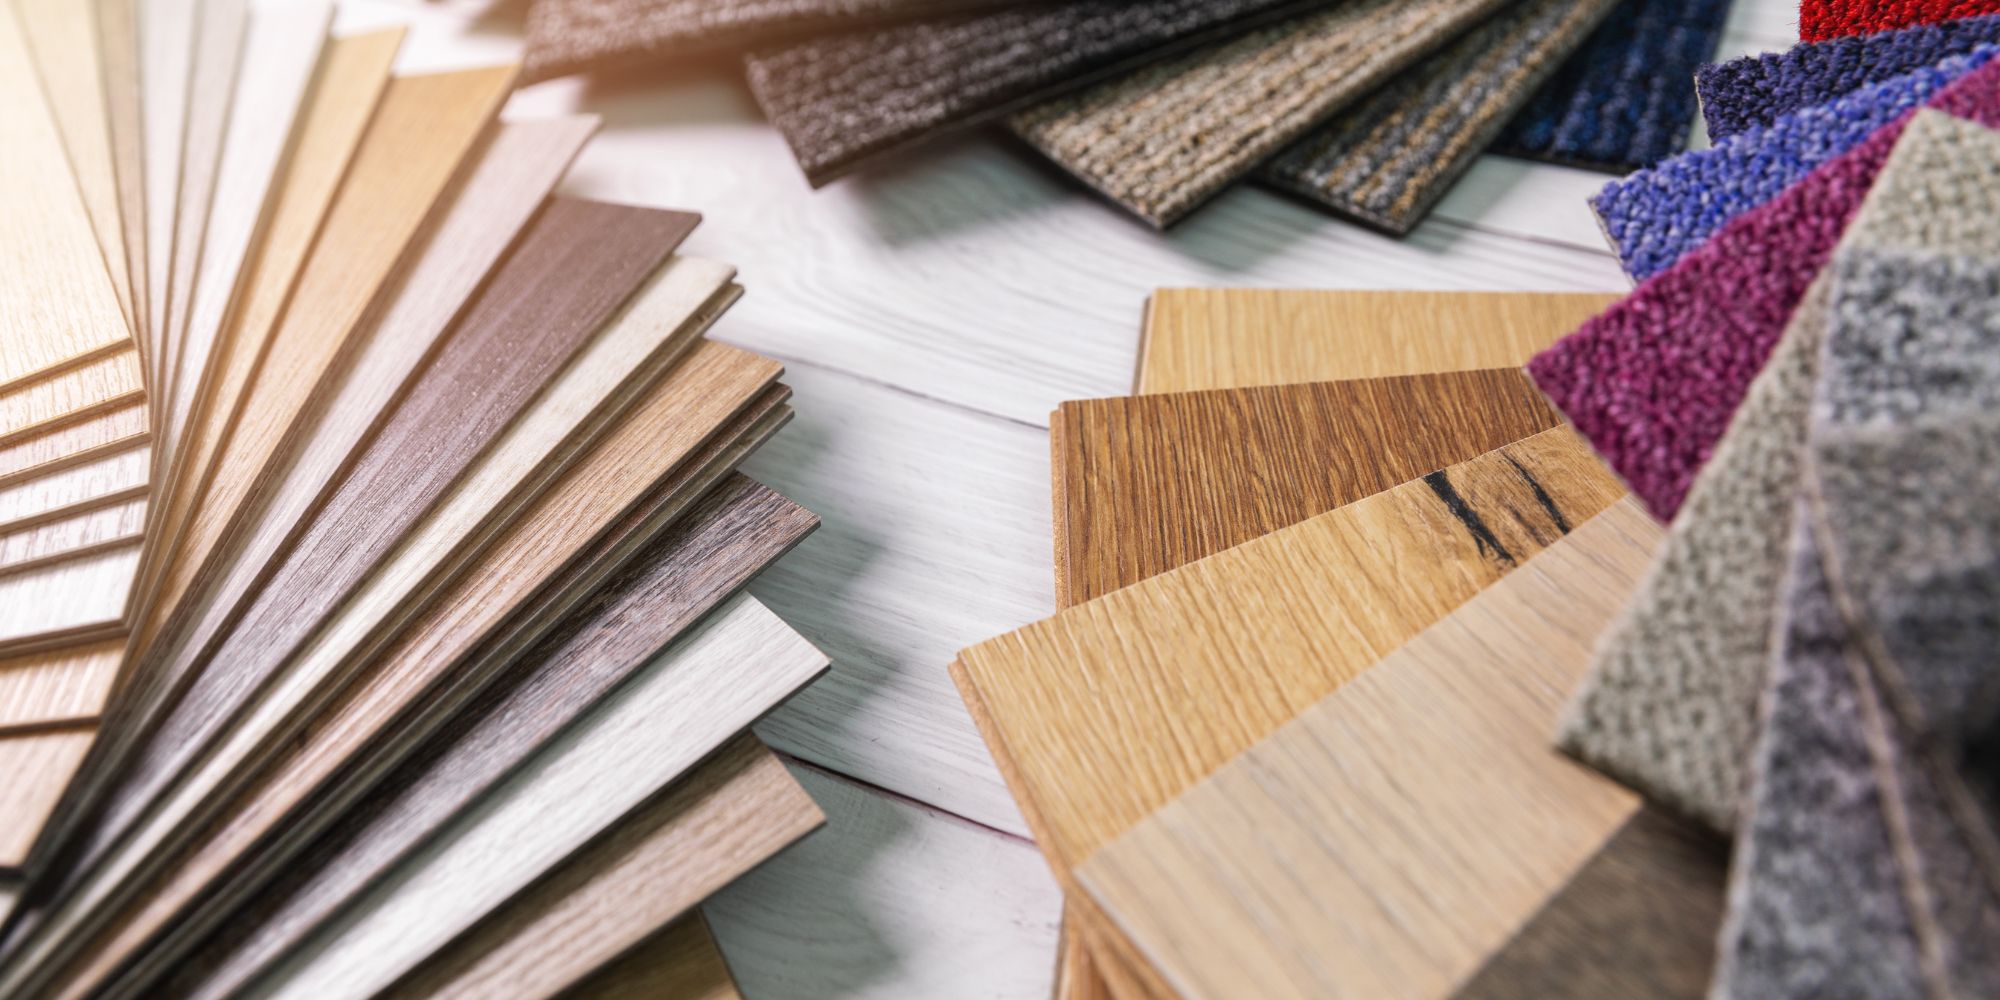
Selecting the Correct Materials and Colour Matches
Choosing the appropriate material ensures durability and a clean visual transition. Most perimeter mouldings designed specifically for laminate are manufactured using an MDF (Medium Density Fibreboard) core, wrapped in a highly durable, scratch-resistant photographic foil.
When finalising your design specification, you have two primary options for colour matching:
- Matching the Floor: Selecting a moulding that perfectly replicates the grain and tone of the laminate planks makes the floor area appear wider, extending the surface visually to the wall.
- Matching the Skirting: Opting for a standard white or primed moulding that matches your skirting boards creates a sharp, defined border, framing the floor layout cleanly.
Installation Guide: Fitting Beading for Laminate Flooring
Correct fixing is paramount. If installed incorrectly, you will completely negate the purpose of the expansion gap. Follow these technical steps when installing beading for laminate flooring:
- Measure and Cut: Measure your perimeter lengths accurately. To negotiate corners, you must use a mitre block and a fine-toothed saw, or specialist mitre shears, to cut the mouldings at precise 45-degree angles.
- Apply Adhesive: Apply a continuous, narrow bead of rapid-grab construction adhesive to the back flat edge of the moulding (the side that will touch the skirting board).
- Fix to the Skirting, Never the Floor: Press the moulding firmly against the skirting board. Crucial rule: The adhesive or pins must only penetrate the skirting board. Never glue or nail the beading to the actual laminate planks. Doing so locks the floor in place, causing it to buckle when it attempts to expand.
- Pinning (Optional): If your walls are highly uneven, you may need to use 20mm panel pins driven into the skirting board to hold the moulding tightly in place while the grab adhesive cures.
Beading for Laminate Flooring FAQs
Do I need to remove my skirting boards to fit laminate?
No. While removing skirting boards, laying the floor, and refitting the skirting provides the cleanest possible finish, it is highly labour-intensive and risks damaging the wall plaster. Using beading for laminate flooring allows you to leave the existing skirting intact while effectively covering the required expansion gaps.
Can I reuse old beading when replacing a floor?
It is generally not recommended. Old mouldings are often damaged during removal, and finding an exact colour match for your new laminate is unlikely. Furthermore, old adhesive residue makes refitting difficult and compromises the final clean finish.
How do I clean and maintain the edge profiles?
Because MDF-core mouldings are sensitive to heavy moisture, you should avoid soaking them with wet mops. Simply run a vacuum nozzle along the edges to remove dust, and wipe away any scuffs with a lightly damp microfibre cloth.
Secure Your Finishing Touches at Flooring Factory Outlet
Completing your hard floor installation requires precision tools and exactly matched profiles. Do not compromise your project by settling for generic, poorly matched accessories from a standard DIY superstore.
Visit our Croydon showroom on Purley Way to explore over 1,000 specialist flooring accessories. We hold massive stock of scotia and beading for laminate flooring, guaranteeing exact colour matches for all major brands and our own exclusive ranges. Because we supply clearance and trade materials direct to the public, you can secure the exact finishing components you need with savings of up to 70% off typical high street prices. Open six days a week with free parking, our technical team is ready to help you finalise your specification.