Most UK homeowners agree that giving a room a fresh, modern look shouldn’t have to cost a fortune in professional fitting fees, especially when learning how to lay laminate flooring yourself is such an achievable project.
If you are ready to tackle this rewarding DIY task, you are in the exact right place. This comprehensive guide will teach you the precise, step-by-step techniques the professionals use to achieve a flawless finish.
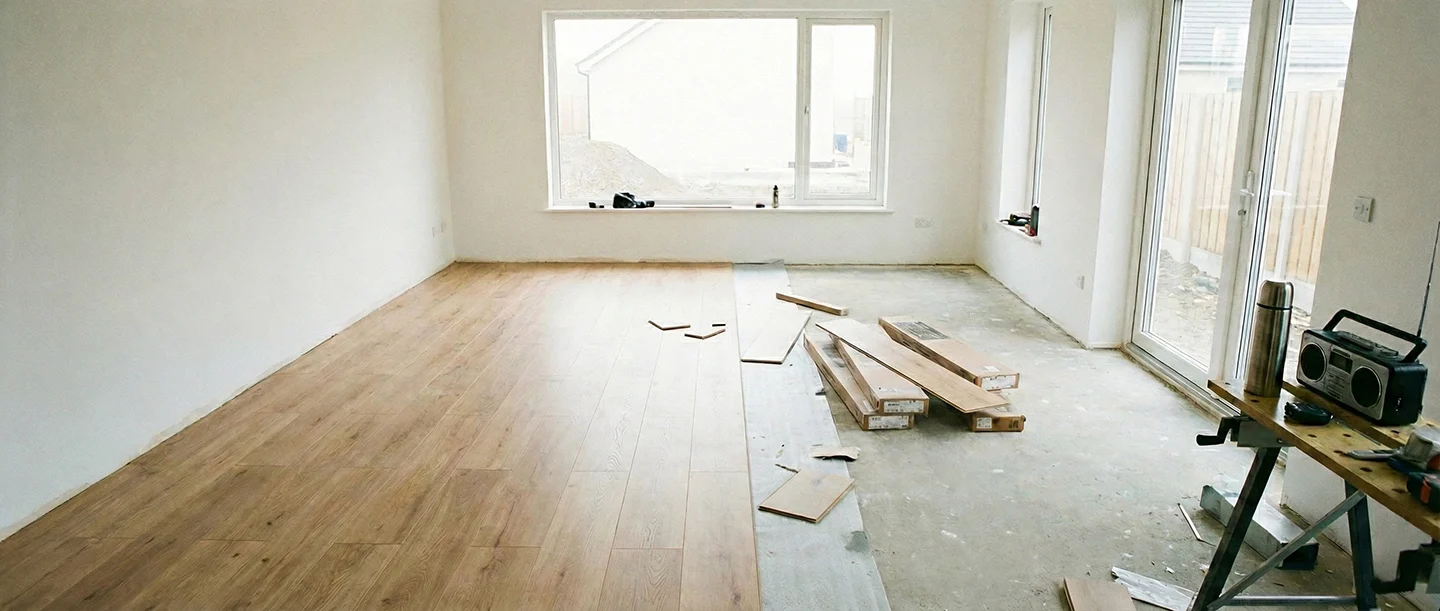
We will cover everything you need to know, from gathering the right tools and preparing your subfloor, to the click-and-lock installation process and adding the perfect finishing touches. Let’s get started on your home transformation!
Jump to section:
- Why Learning How to Lay Laminate Flooring is a Great DIY Project
- Essential Tools for Installing Laminate Floors
- Step 1: Preparation Before You Lay Laminate Flooring
- Step 2: How to Lay Laminate Flooring Underlay
- Step 3: Planning Your Layout and Expansion Gaps
- Step 4: How to Lay Laminate Flooring Planks Step-by-Step
- Step 5: Cutting and Fitting Around Obstacles
- Step 6: Finishing Touches After You Lay Laminate Flooring
- Frequently Asked Questions on How to Lay Laminate Flooring
Why Learning How to Lay Laminate Flooring is a Great DIY Project
Before diving into the installation process, it’s vital to understand the enduring appeal of laminate in British homes. Learning how to lay laminate flooring is a rewarding DIY task that offers immediate visual impact and significant savings.
- Exceptional Durability: High-quality laminate features a tough wear layer that is highly resistant to scuffs and scratches. It is ideal for busy households with pets or children.
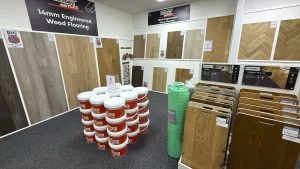
- Outstanding Value: Laminate delivers a premium, realistic look without the hefty price tag of solid oak. At our Croydon showroom, we offer laminate flooring options starting from just £15.99 per m².
- Design Variety: We sell both Plank and Herringbone designs, all come with a registered embossed textured finish.
- DIY-Friendly: Due to the simplistic click-lock systems it has made installing laminate highly accessible for any avid home diy’er.

Essential Tools for Installing Laminate Floors
Success starts with thorough preparation. Gathering all the necessary equipment before you begin your project will save you immense time and frustration as you figure out how to lay laminate flooring.
Make sure you have the following tools and materials ready to go:
- Laminate flooring planks: Always purchase about 10% more than your room size to account for cuts and wastage.
- Underlay: We would highly recommend our silver or gold rubber underlays , these are the best in terms of thermal qualities, sound insulation and overall feel underfoot.
- Measurement tools: A tape measure, ruler, pencil, and a chalk line for accurate marking.
- Installation kit: Spacers (for the expansion gap), a rubber mallet, a tapping block, and a pull bar.
- Cutting tools: A jigsaw is best for intricate cuts, while a circular saw or hand saw works for straight lines.
- Safety gear: Always wear safety goggles and gloves to protect against dust and splinters.
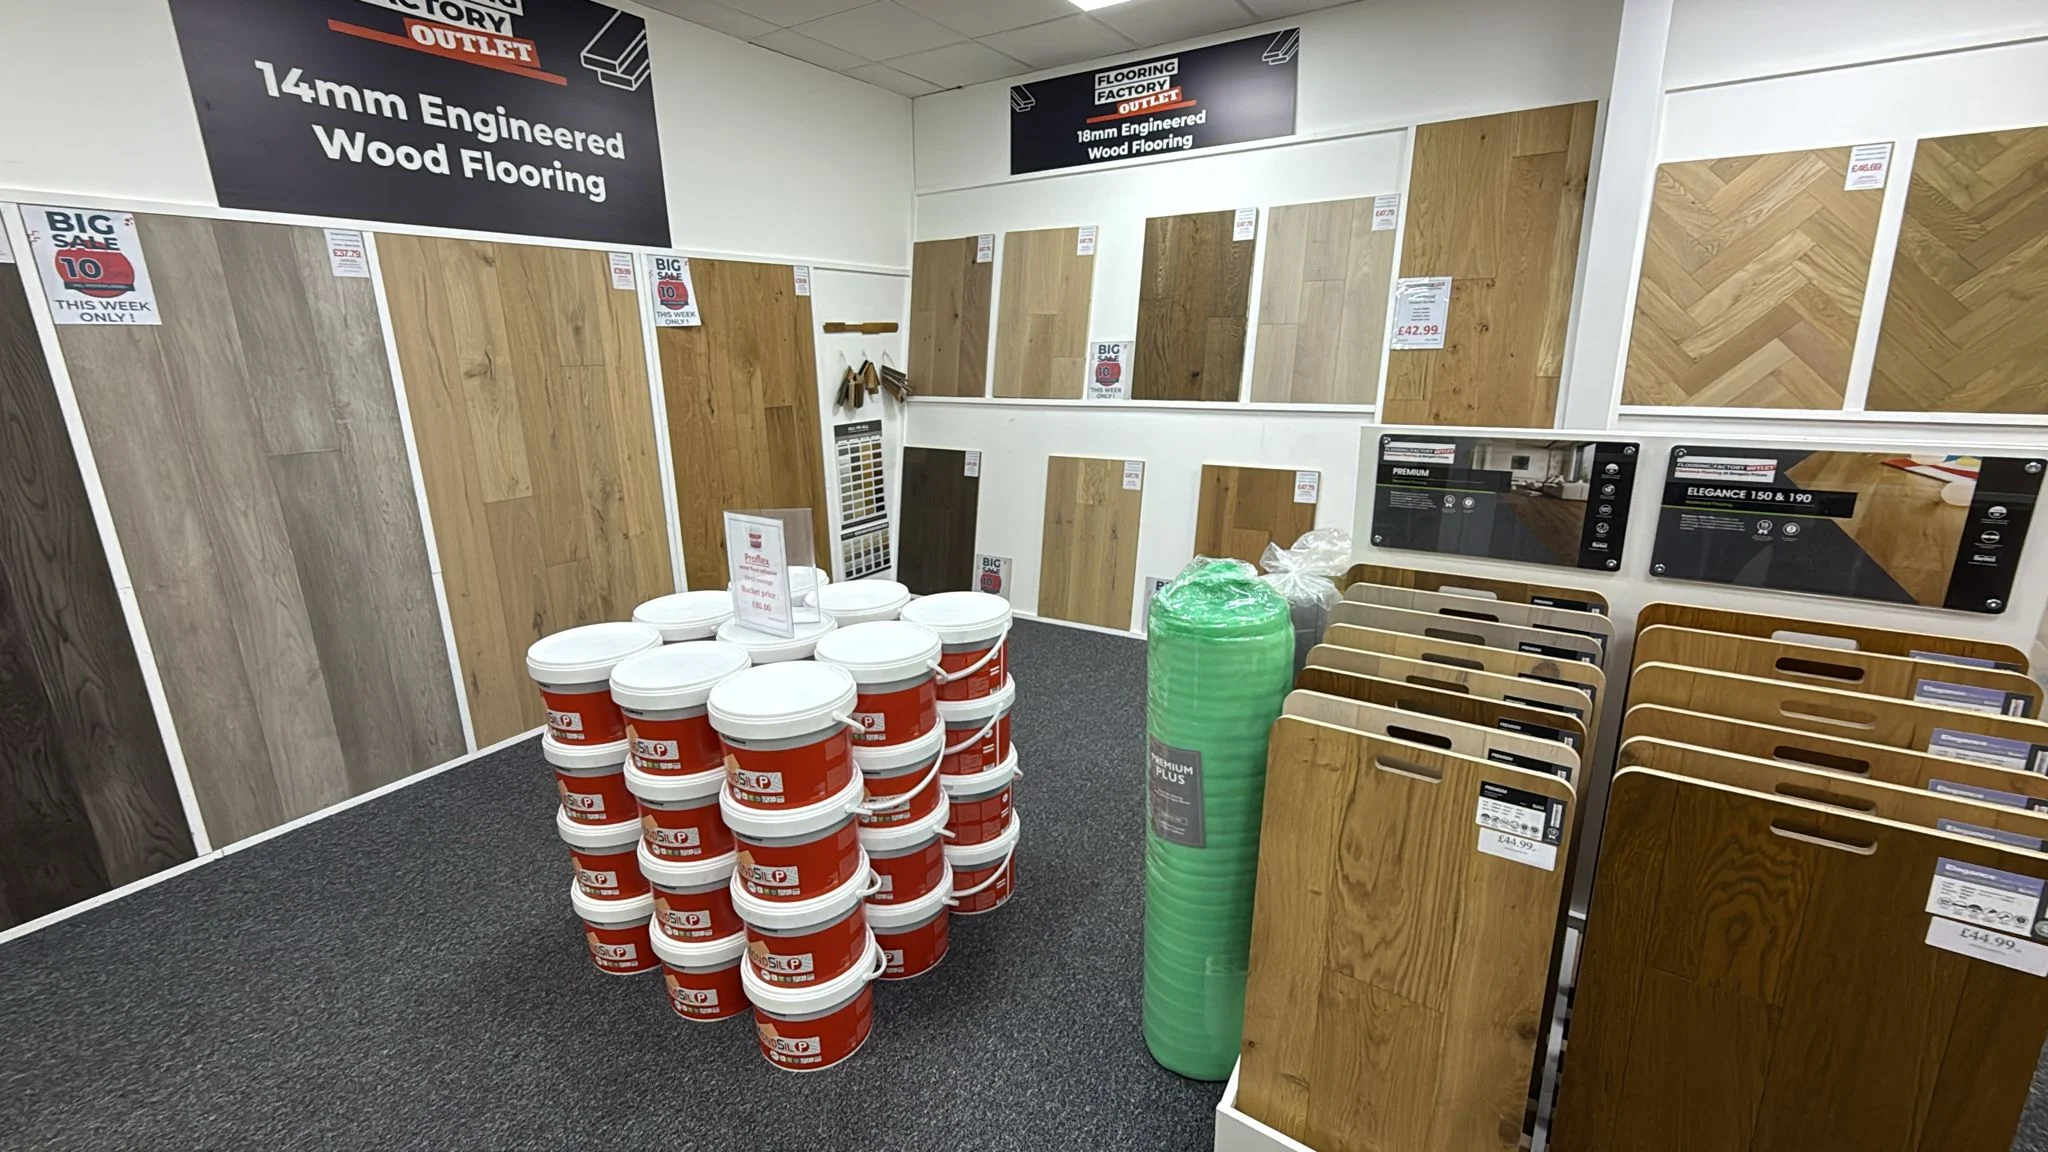
If you are missing anything, Flooring Factory Outlet stocks over 1,000 different flooring profiles and accessories to help you complete your project.
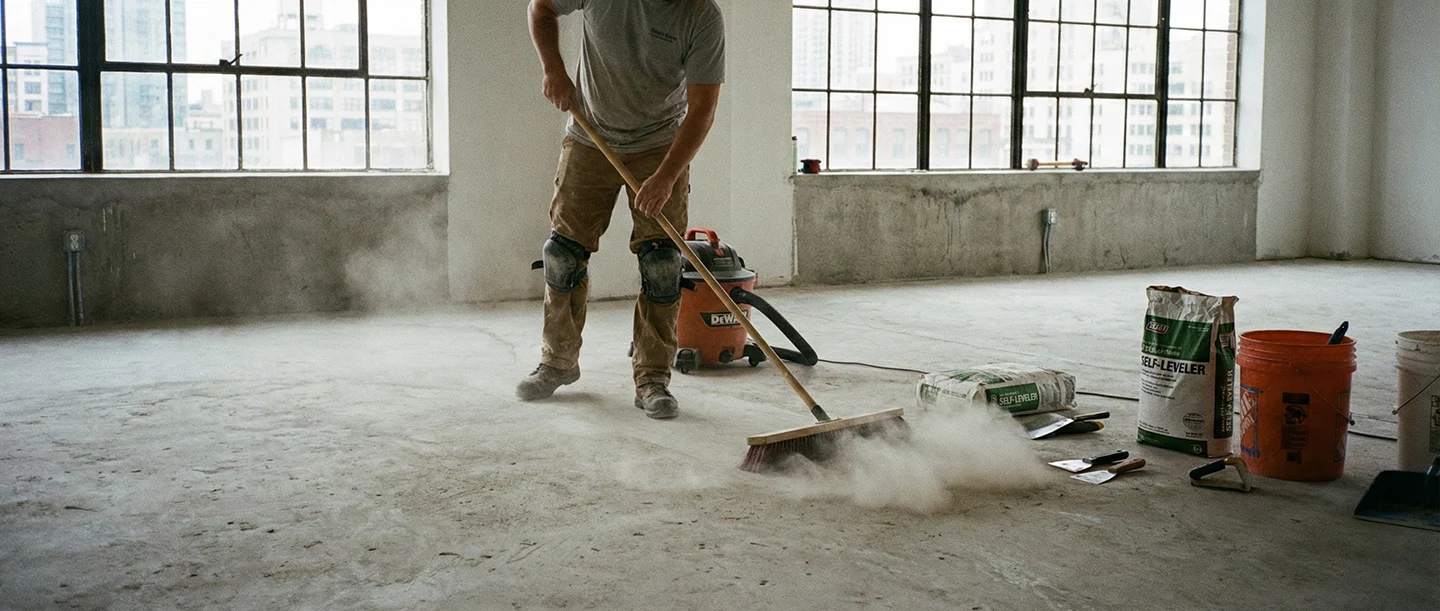
Step 1: Preparation Before You Lay Laminate Flooring
Preparation is arguably the most critical step for a long-lasting floor. If you want to know how to lay laminate flooring that won’t dip or squeak, you must start with the subfloor.
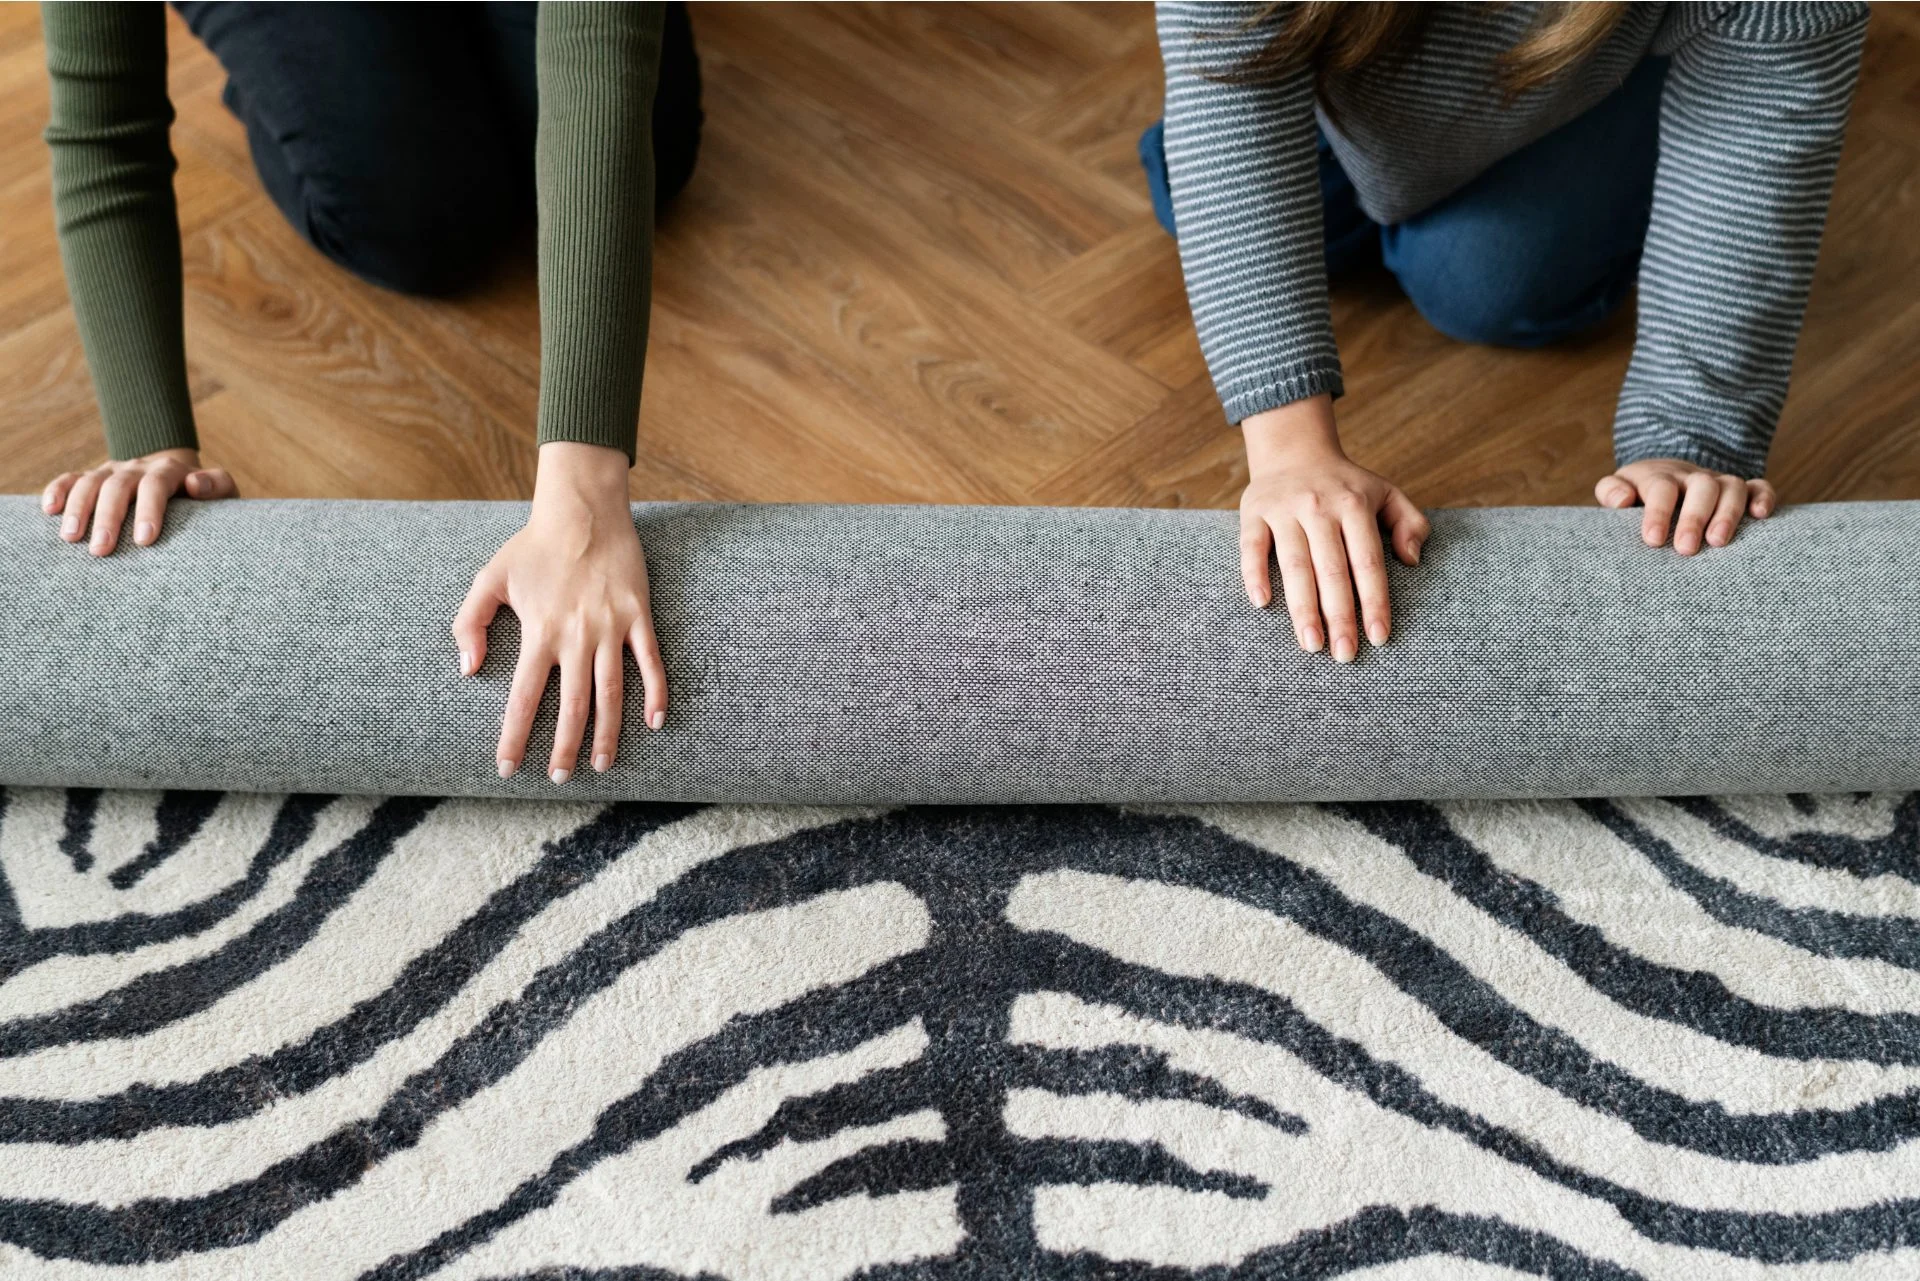
First, clear the space entirely by removing all furniture, existing carpets, and any visible carpet grippers. You should also remove the skirting boards carefully if you plan to re-use them later. However we do have a huge selection of scotia to finish the project if your skirting cannot be removed. Next, use a spirit level to inspect the subfloor for dips or bumps.
Laminate requires a flat, clean, and dry subfloor. For concrete floors, use a self-levelling compound to fill uneven areas, and for wooden floorboards, screw down any loose boards. Finally, leave the sealed packs of laminate in the room for a minimum of 48 hours to acclimatise.
Step 2: How to Lay Laminate Flooring Underlay
Underlay is essential for underfoot comfort, noise reduction, and crucial moisture protection when learning how to lay laminate flooring.
Roll the underlay across the floor, running parallel to the direction you plan to lay the planks. Be sure to butt the edges of the underlay sheets together smoothly. Do not overlap them, as this creates an uneven surface that will stress the laminate joints.
Use moisture-proof seaming tape to seal the joints. This prevents the underlay from shifting and provides an effective moisture barrier. If you have underfloor heating, you must use a compatible, low-tog rated acoustic underlay designed to allow heat transfer.

Step 3: Planning Your Layout and Expansion Gaps
Strategic planning ensures visual appeal and structural integrity for your new floor. A huge part of mastering how to lay laminate flooring is taking the time to properly establish your layout.
The general rule is to lay planks parallel to the longest wall or perpendicular to the main source of light, which helps to hide the seams. You should also calculate how wide your final row will be. If the last row will be less than 5cm wide, trim your starting row down slightly to create a balanced look across the room.
Always remember to leave a 6-8mm expansion gap from the wall. Wood expands and contracts with temperature changes, and failing to leave this gap will cause your floor to buckle. If you are laying on a surface that has underfloor heating please allow up to 10mm expansion gap.
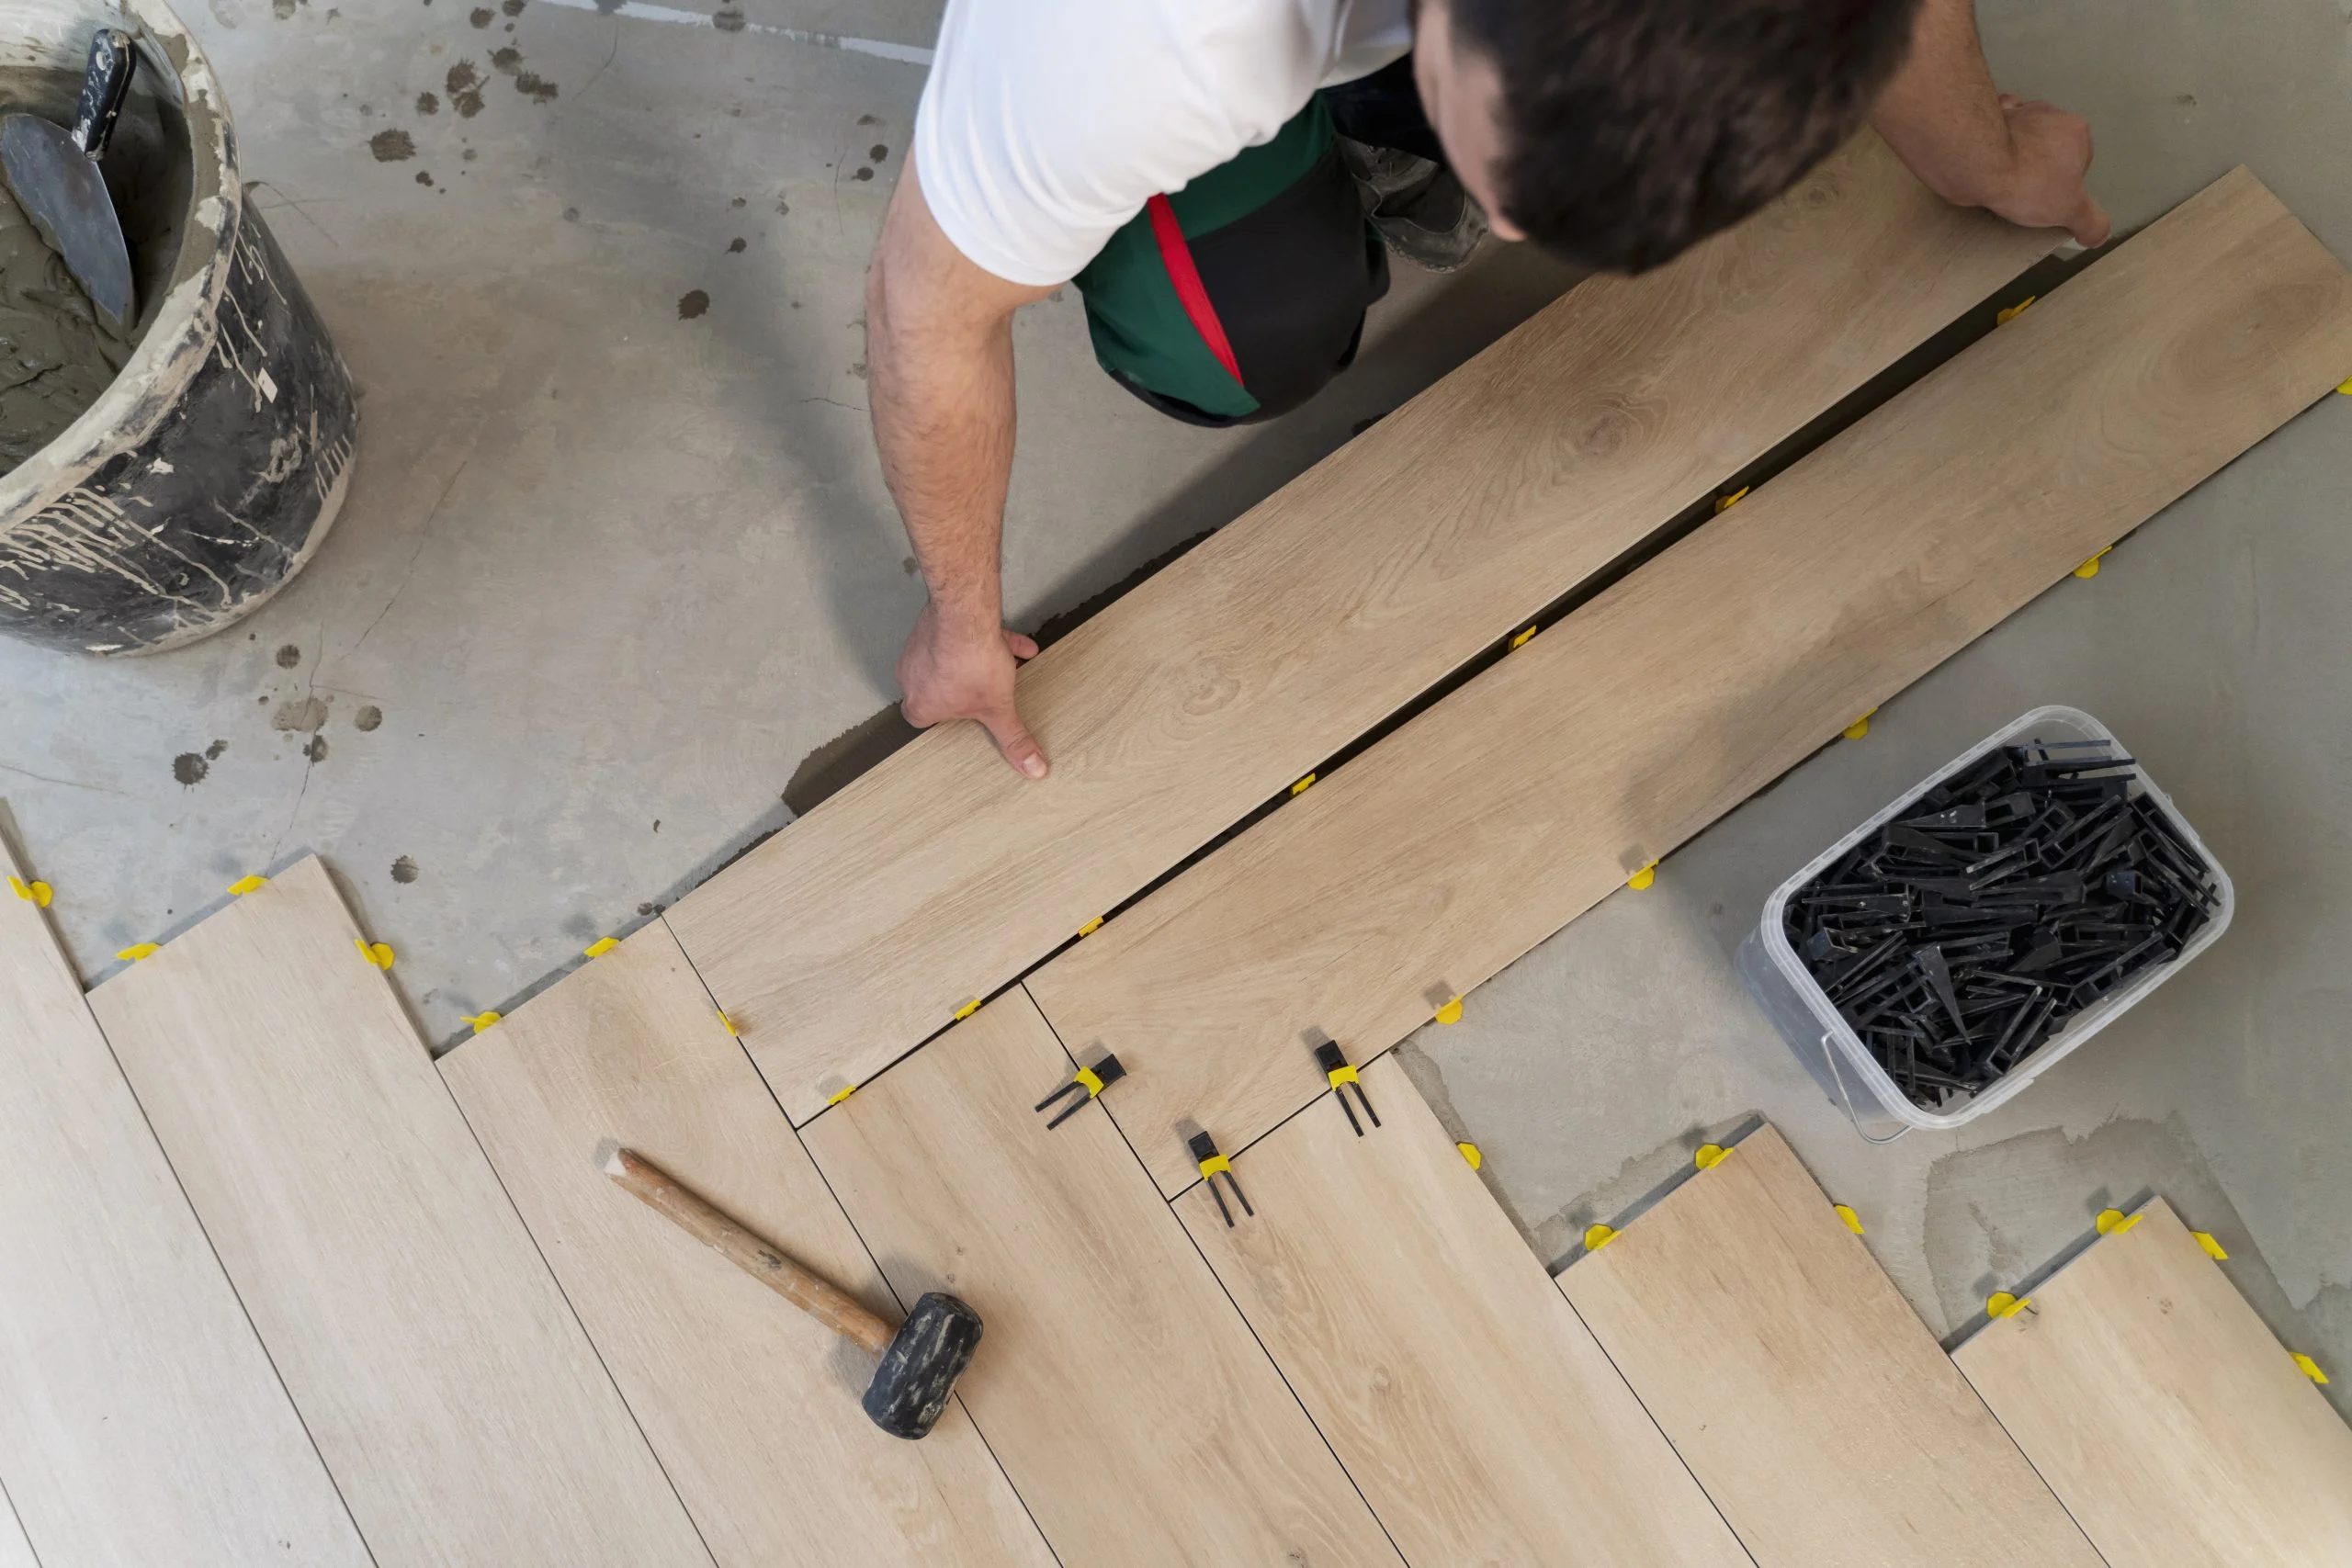
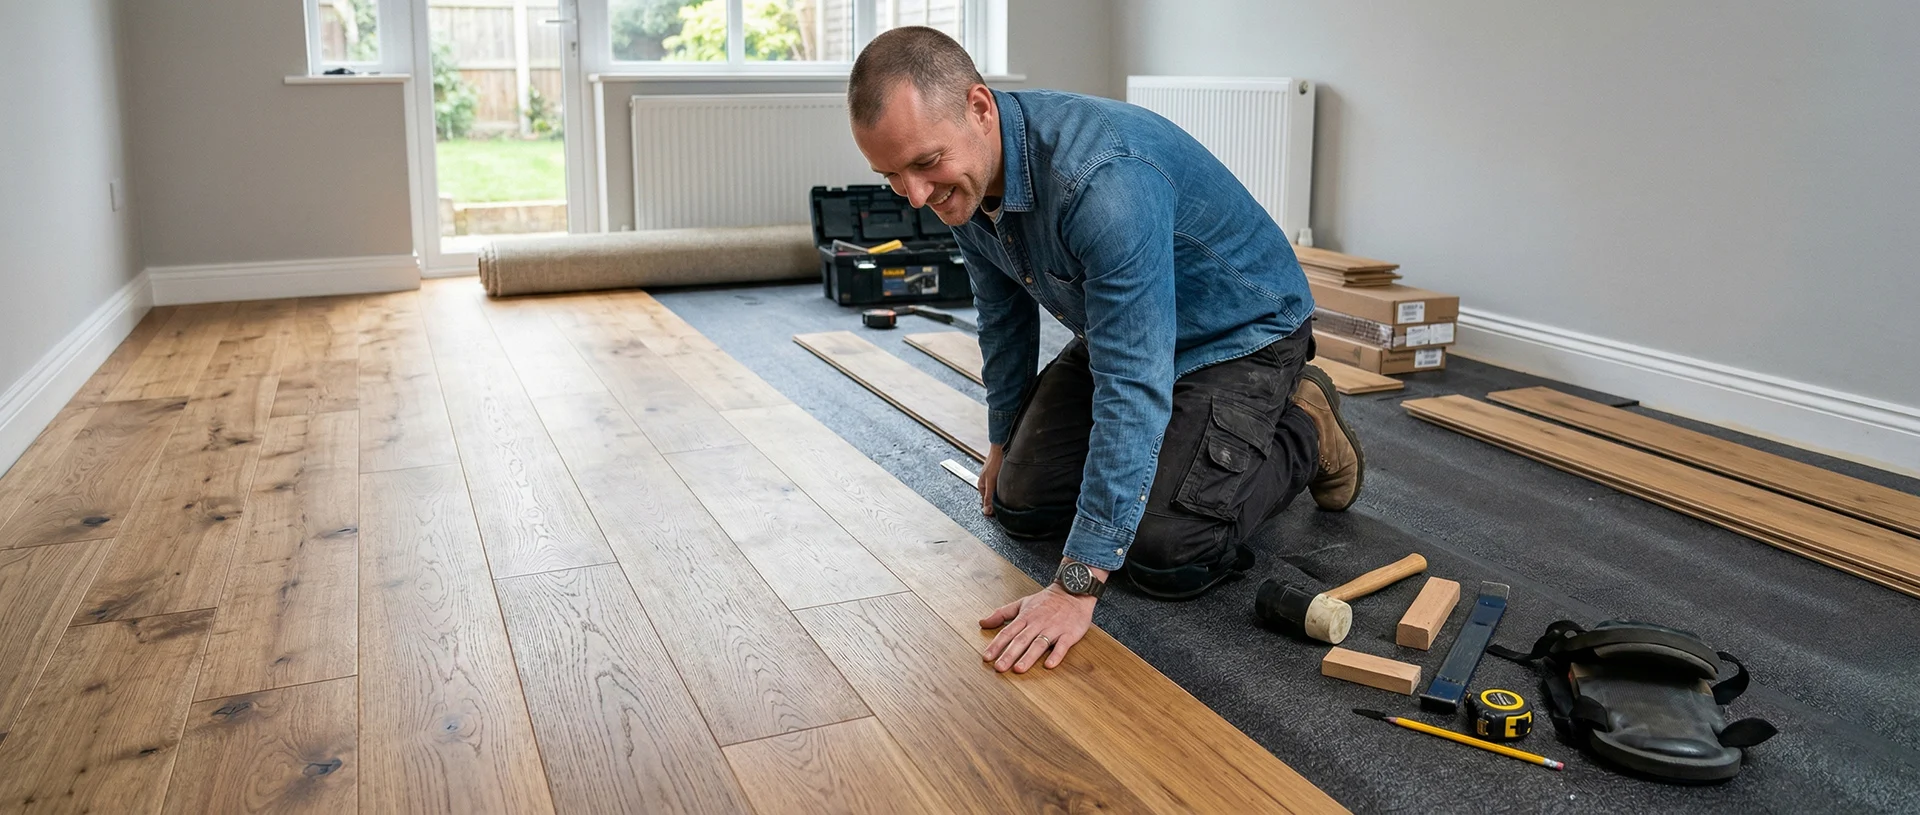
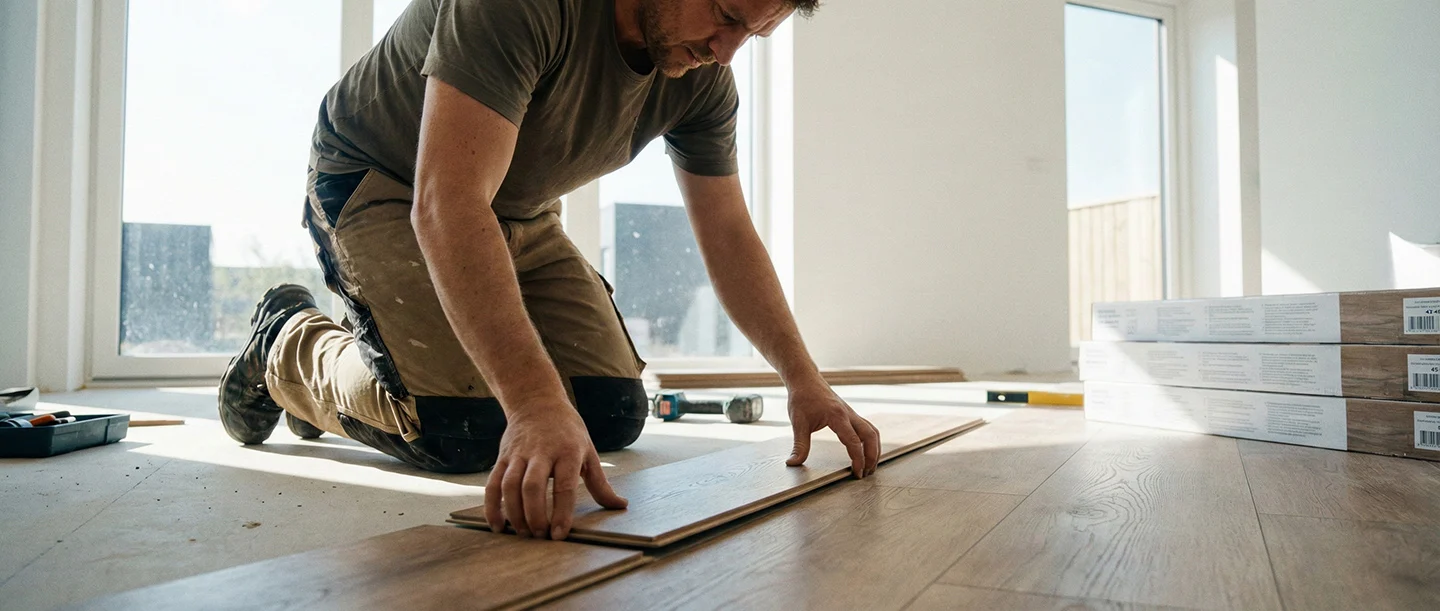
Step 4: How to Lay Laminate Flooring Planks Step-by-Step
This is the main event. Understanding exactly how to lay laminate flooring using the click system is the secret to a fast and professional DIY job.
- Start in a Corner: Place the first plank with the tongue side facing the wall. Immediately insert spacers between the plank and the wall to secure your expansion gap.
- Connect Planks: Connect the next plank by angling the end-joint down and locking it into the previous one. A light tap with the rubber mallet and tapping block will secure it.
- Stagger the Joints: Do not line up the end joints from one row to the next. Start the second row with the offcut from the previous row, provided it is at least 30cm long.
- Lock the Rows: Angle the second row into the first row along its length. Gently use your tapping block to secure the long edge joint.
This staggered pattern mimics the look of real hardwood floorboards and dramatically increases the structural stability of the floor.
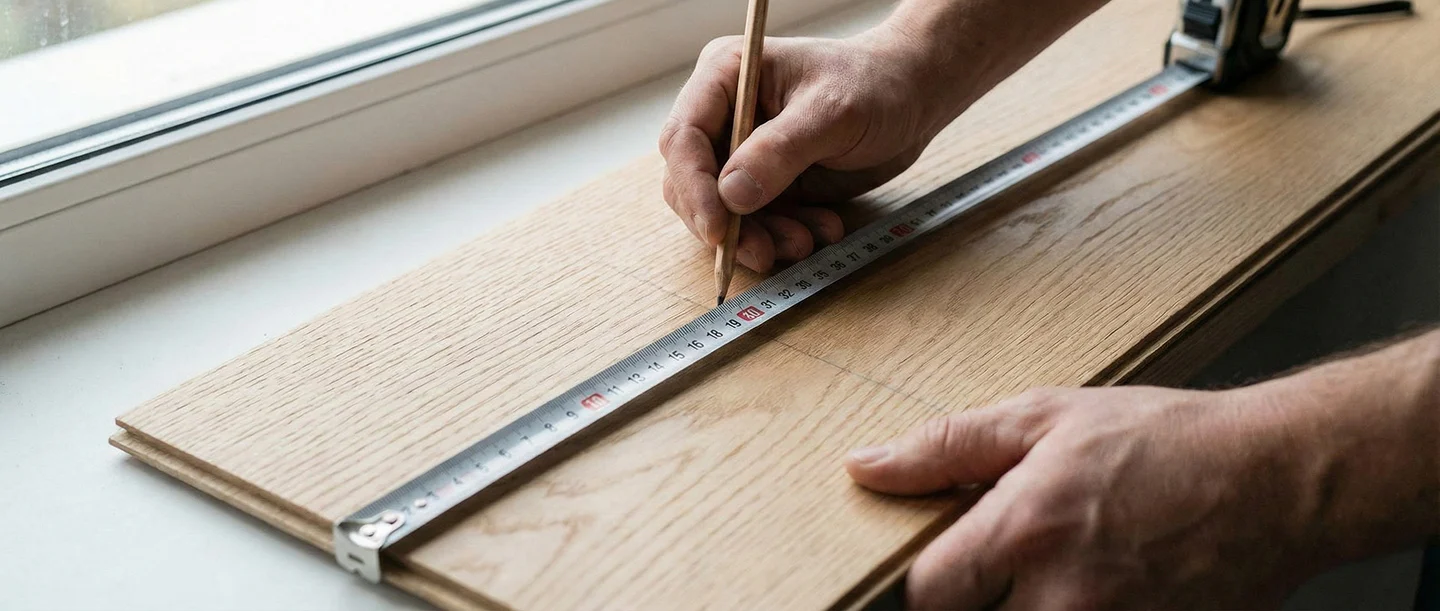
Step 5: Cutting and Fitting Around Obstacles
Take your time with awkward cuts around doorways and radiator pipes to maintain a professional appearance. Mastering how to lay laminate flooring means knowing how to patiently navigate these tricky areas.
Instead of cutting around the door frame (architrave), it is much cleaner to undercut it. Use an offcut of laminate and underlay as a guide, and saw off the bottom of the frame so the plank can slide neatly underneath.
For pipes, mark the location on the plank and drill a hole that is 20mm larger than the pipe diameter to accommodate the expansion gap. Then, saw a small cut from the hole to the edge of the plank so it can fit around the pipe, gluing the small offcut back in place once laid. We have a large selection of radiator pipe covers that simply pop open and slot around the base of the pipe for a perfect finish.
Step 6: Finishing Touches After You Lay Laminate Flooring
The final touches are what make the job look truly professional once you have figured out how to lay laminate flooring.
Start by taking out all the plastic spacers from around the perimeter of the room. Next, reattach your original skirting boards or install new ones to cover the expansion gap. Never fix the skirting directly through the laminate; it must only be fixed to the wall to allow the floor to float.
Finally, install door transition bars where the laminate meets another type of flooring, such as carpet or tile. Give the floor a quick clean with a soft duster or vacuum, and your brand new room is ready to enjoy!
Frequently Asked Questions on How to Lay Laminate Flooring
Can I install laminate over existing carpet?
If you are researching how to lay laminate flooring, you might wonder if it can go over carpet. No, you should never lay laminate over carpet or carpet underlay. It provides an unstable, soft base that will cause the click-lock joints to break under pressure. Always remove the carpet first.
What is the ideal expansion gap size in the UK?
The recommended expansion gap is typically 6-8mm around the entire perimeter of the room. This includes doorways, pipework, and any fixed objects, allowing the floor to expand naturally.
Should I remove my skirting boards or use beading?
Removing the skirting boards and refitting them on top of the laminate gives a much cleaner, professional finish. Beading (quadrant) is a faster, budget-friendly alternative if removing skirting isn’t possible.
What AC rating should I choose for a UK home?
AC3 is suitable for bedrooms and light residential use. However, AC4 is the most common and highly recommended for high-traffic areas like hallways, living rooms, and kitchens due to its enhanced durability.
How do I clean my new laminate floor?
Use a soft-bristle broom, a vacuum with a hard floor attachment, or a well-wrung, damp mop. Never soak the floor or use a steam mop, as excess moisture will damage the laminate core.